Android Enterprise
Android Enterprise provides a single, intuitive API that unifies MDM capabilities across different device manufacturers. Starting with Android 5.1, Android Enterprise offers the same management capabilities independent of the device’s manufacturer.
With the release of Android 9 in 2018, Google has deprecated the Device Administrator and will remove support for most of its features in the upcoming 2019 Android release (Android Q). This means existing MDM functionality will no longer be available for these devices.
Moving forward, Relution will use the Android Management API to manage Android devices. Existing management capabilities are now considered legacy. They will continue to work for the forseeable future, but newer devices will require Android Enterprise from now on.
Sign up
To enable support for Android Enterprise you need to set up an organization on Google Play and associate it with your Relution organization. To do this, you first need to register your company with Google.
Registration requires an unmanaged Gmail account. This account can’t be associated with an existing organization. If you do not have a Google account, follow these instructions.
Once you have created a Google account and you are ready to sign up, log in to your Relution organization as an organization administrator. Navigate to Settings > Android Enterprise and click on the Sign up now button. This will redirect you to Google’s sign up page.
| Make sure you’re signed into the correct Google account before you continue. If you use Google Chrome and you’re already signed into your personal account, we recommend to use an Incognito window to perform the sign up process. |
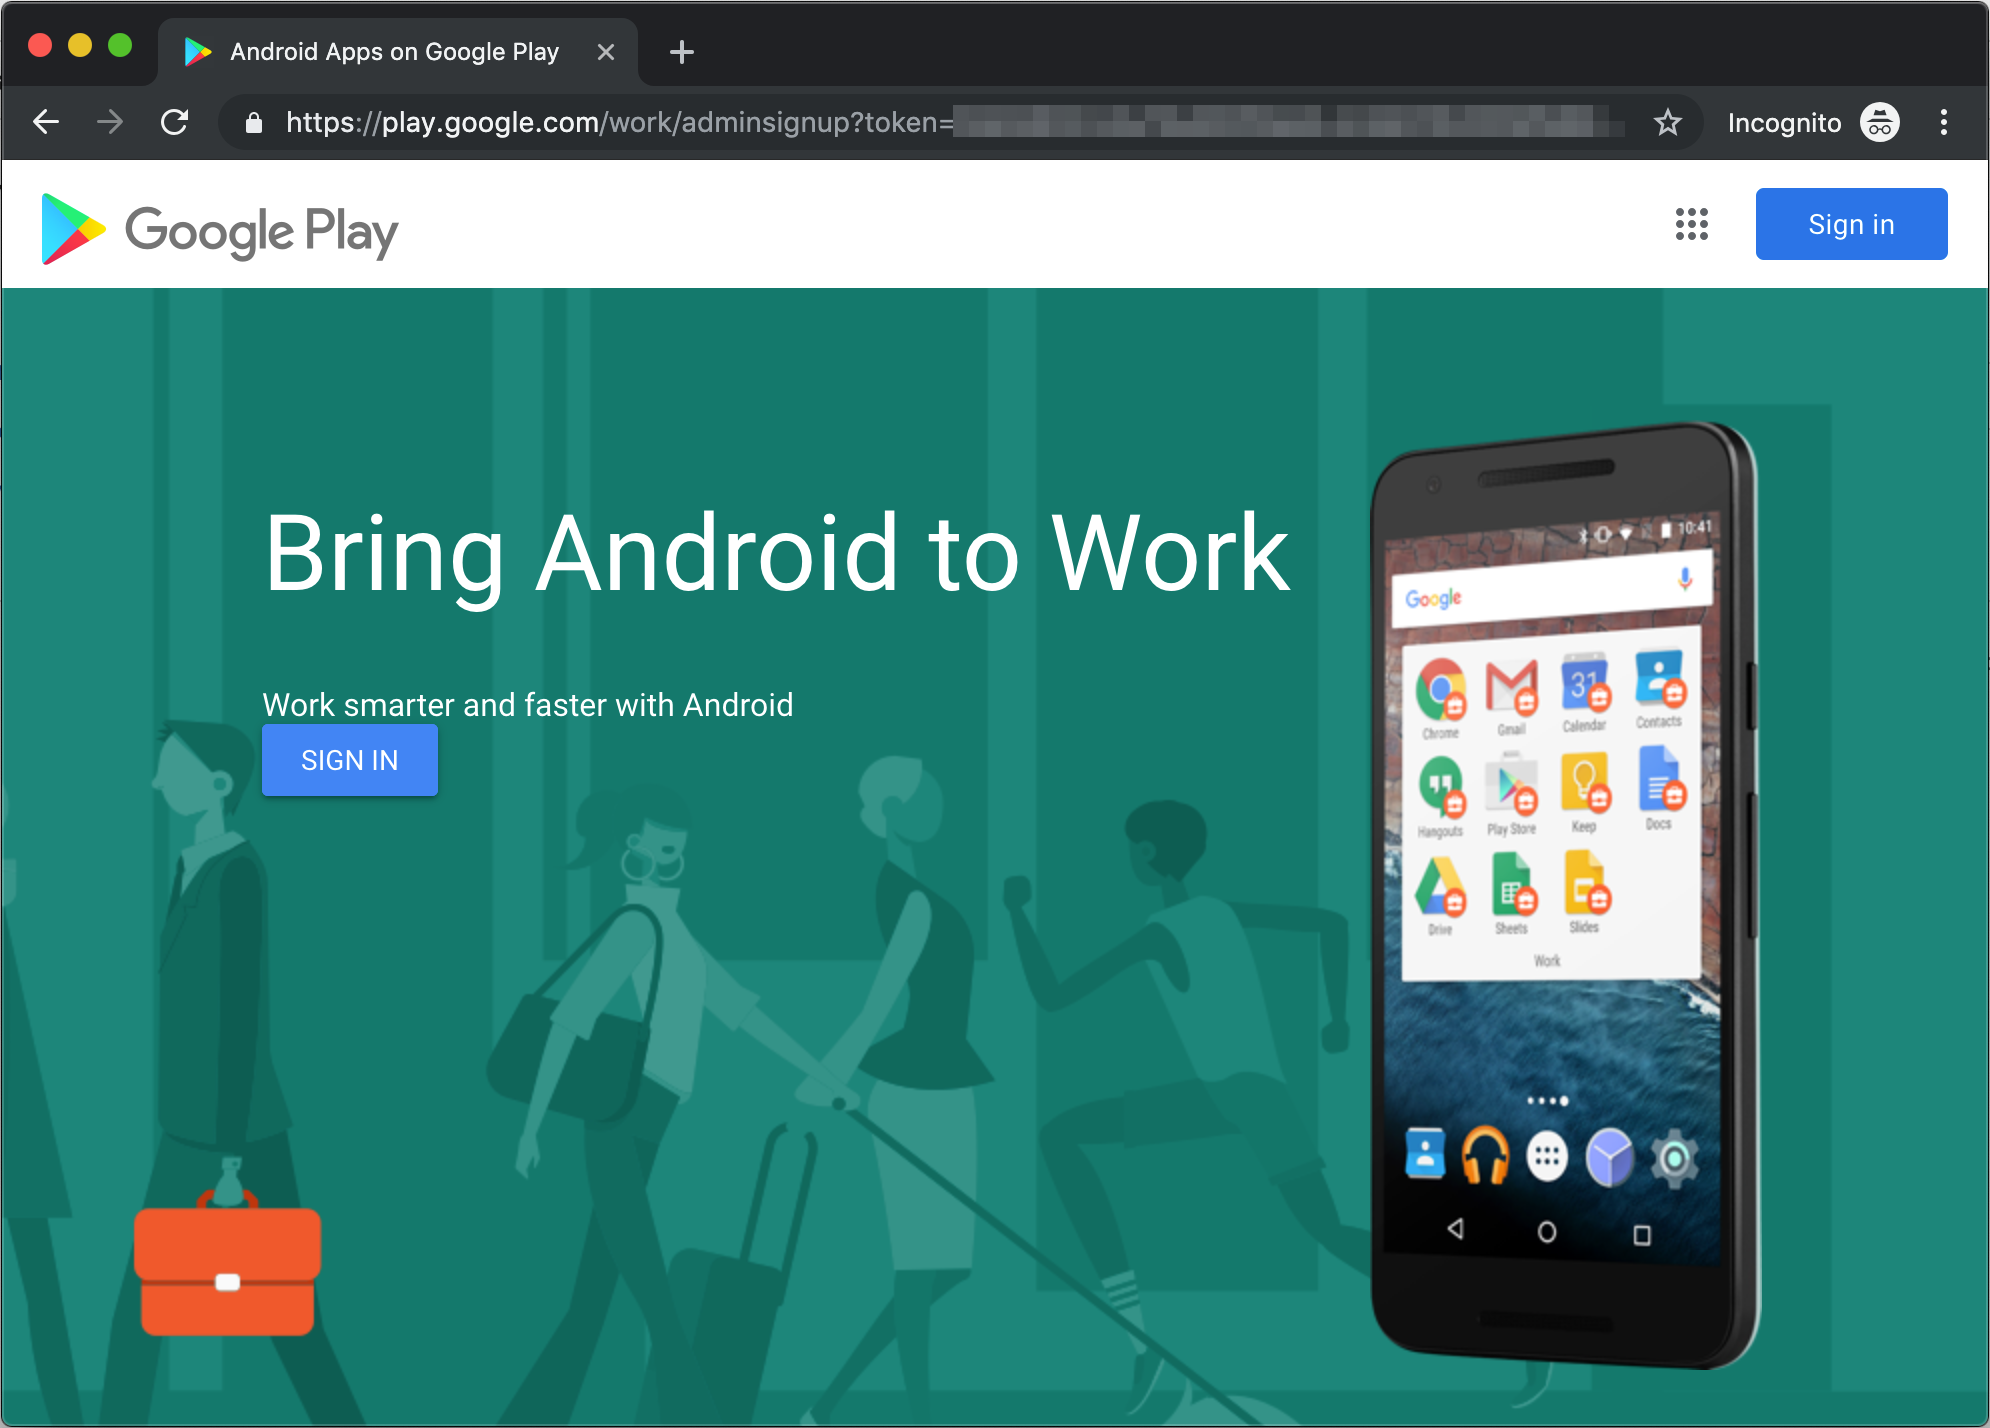
Click on the Sign in button and follow Google’s on screen instructions to complete the sign up process. Once you’ve complete the sign up process, you’ll be redirected back to Relution.
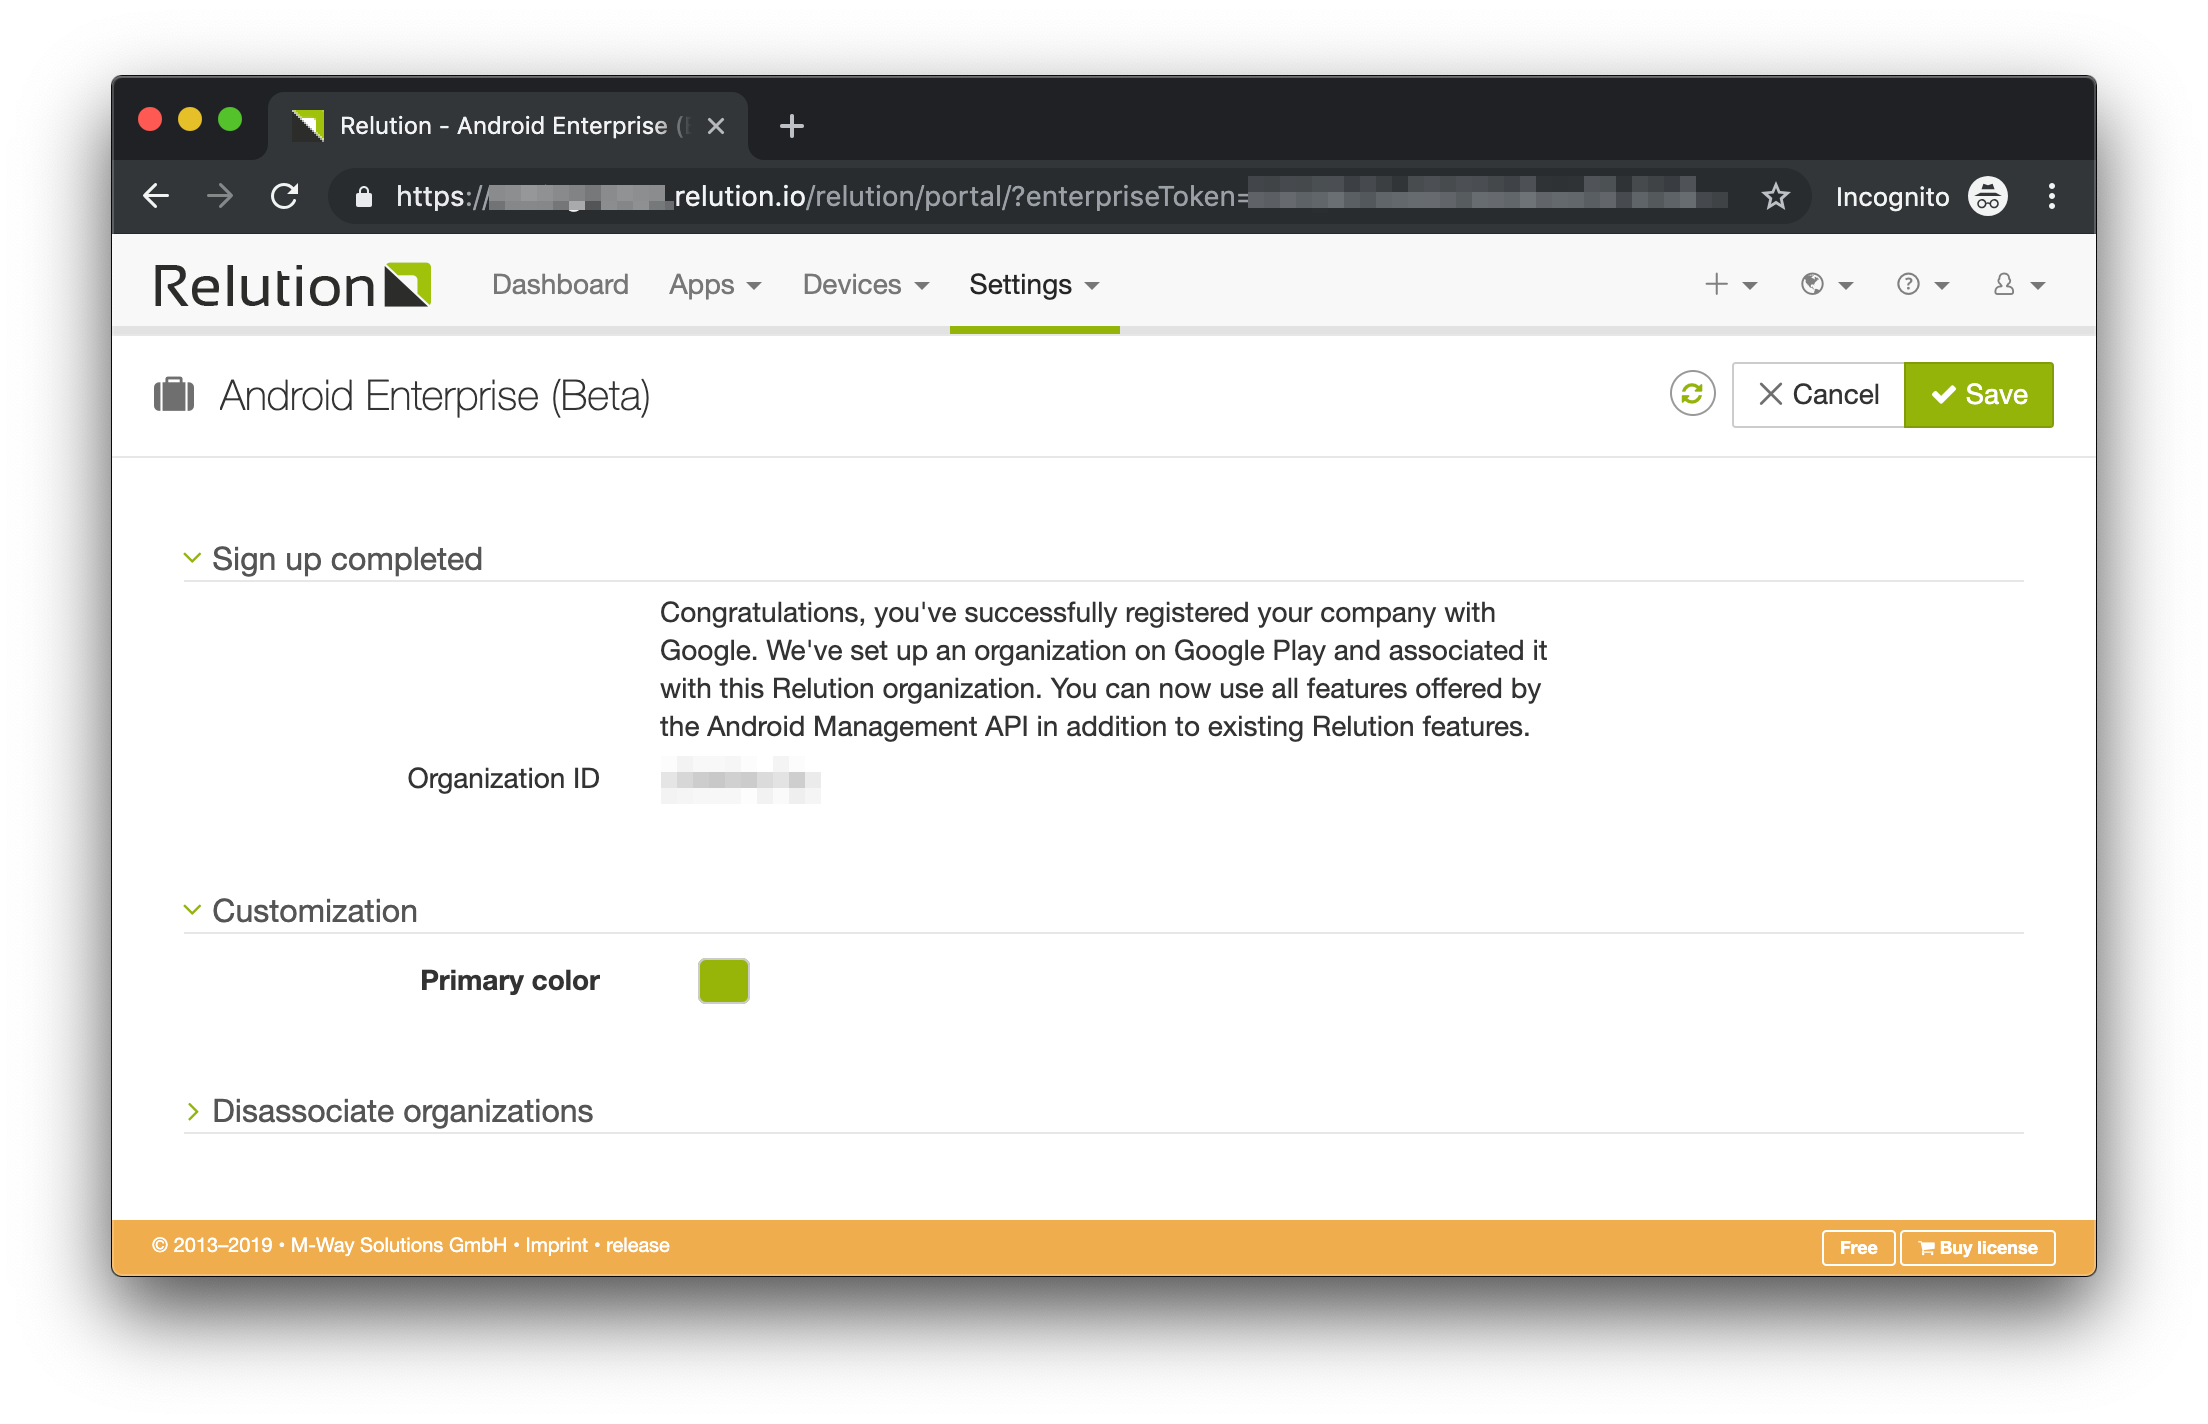
Congratulations, your Relution organization is now associated with your Google organization and you’re ready to use Android Enterprise to manage your Android devices.
Supported features
Employee-owned devices (BYOD)
Relution currently supports the Work Profile feature of Android Enterprise. This is aimed at bring your own device (BYOD) scenarios. In this scenario, the employee owns the device, which is also used for work. The work profile separates work apps from personal apps.
These BYOD devices can be set up with a work profile — a feature built into Android 5.1+ that allows work apps and data to be stored in a separate, self-contained space within a device. An employee can continue to use their device as normal; all their personal apps and data remain on the device’s primary profile.
The employee’s organization has full management control over a device’s work profile, but has no visibility or access to a device’s personal profile. This distinct separation gives enterprises control over corporate data and security without compromising employee privacy.
Company-owned devices
Relution is currently supporting a basic set of configurations for fully managed devices in combination with Android Enterprise. All common configurations are planned to be supported by the end of 2020. Until then, organisations requiring full control over a device can continue to use legacy enrollment.
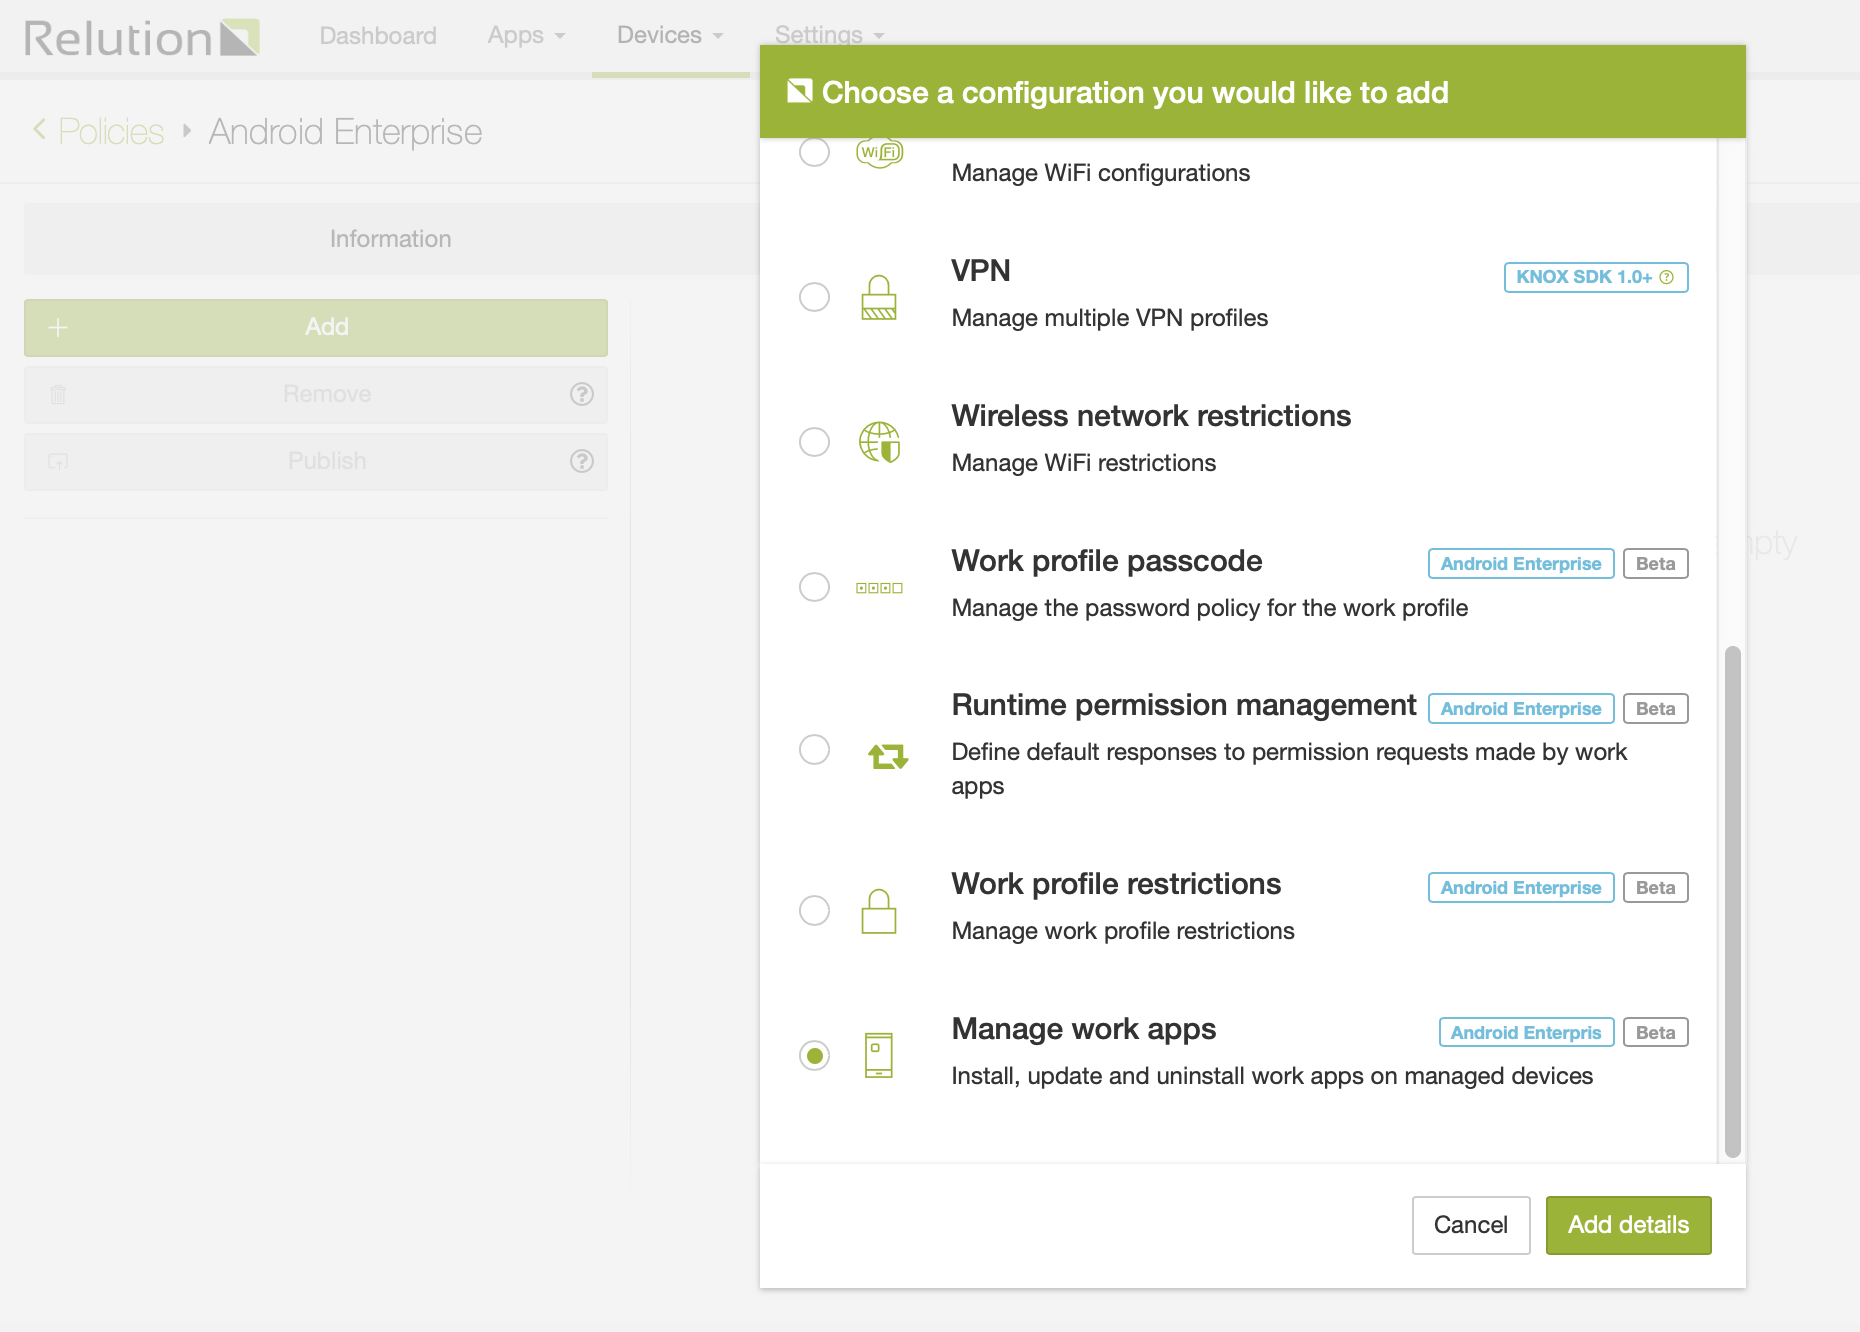
Supported policies
The following policy configurations are supported on work profile enabled devices:
-
Passcode
-
Work profile passcode
-
Work profile restrictions
-
Runtime permission management
-
Manage work apps
Passcode
This configuration can be used to enforce a passcode policy for the whole device. A user’s device needs to use a screen lock with a passcode quality that is at least as good as the one enforced by the configuration to be compliant.
Work profile passcode
This configuration can be used to enforce a passcode policy for the work profile. This can be used in addition to the device’s passcode to enforce additional (stricter) passcode rules for the work profile.
Work profile restrictions
This configuration can be use to enforce various restrictions for the user’s work profile, including account restrictions, app restrictions, network restrictions and more.
Runtime permission management
This configuration allows IT admins to silently set a default response to all runtime permission requests made by work apps. Starting with Android 6.0 apps need to request certain permissions at runtime (e.g. location data or file access). This configuration allows IT admins to define default responses to these requests instead of relying on the user to grant or deny permissions.
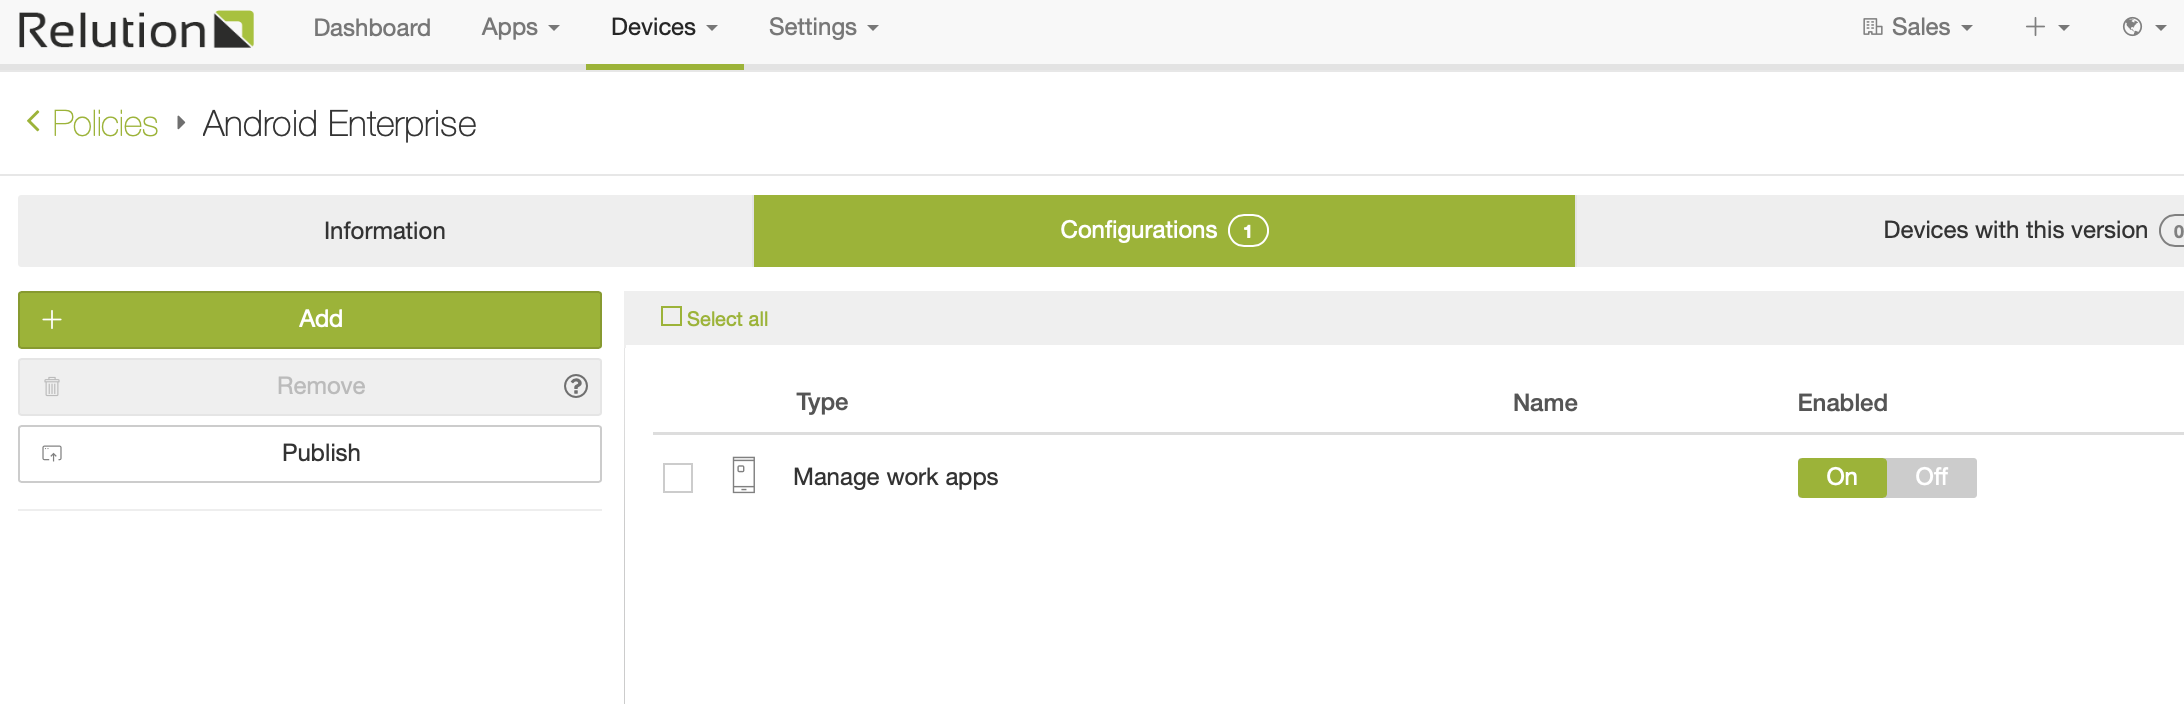
Manage work apps
This configuration allows IT admins to define apps that should be installed or available for installation in a user’s work profile. In addition administrators can define default responses for permission requests on a per-app basis.
It can also be used to apply managed configurations on apps. NOTE: Managed configurations are stored on Google’s server and Google’s editor is used to modify them. This means that you need to save the managed configuration before saving the configuration that uses them.
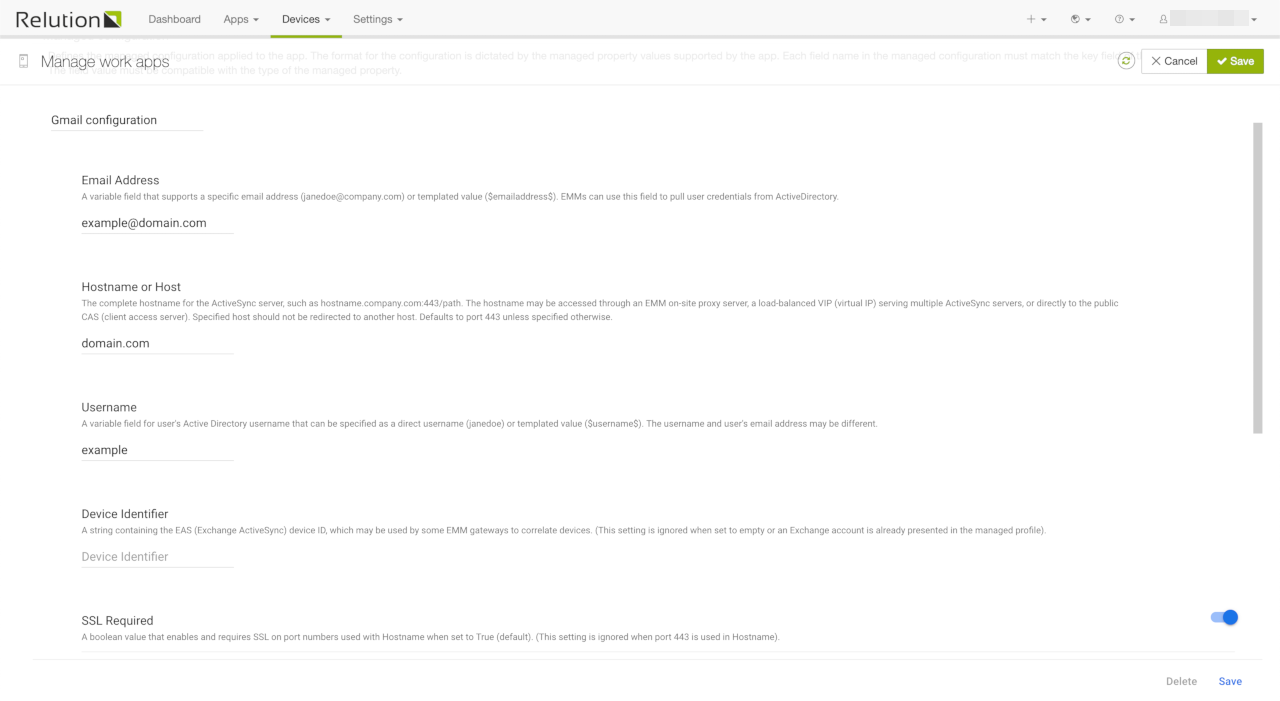
The image above shows an example for a managed configuration for Gmail. Note the separate Save button inside the managed configuration editor. The configuration values that are shown in the editor depend on the app that is being configured.
Enroll an Android device with Work Profile
Before you can enroll Android devices with Android Enterprise you need to complete the sign up process as detailed in the previous chapter. If you haven’t done so already, completed the process before you continue with the instructions below.
Set up of a work profile on an Android device is similar to our legacy enrollment process. First, create an enrollment as described in Enrolling a Device. Make sure you select Android Enterprise as the platform. It is not possible to use an indeterminate platform for this type of enrollment.
Android device
On the Android device, scan the QR code that is shown after you’ve create an Android Enterprise enrollment and open the contained link in a browser.
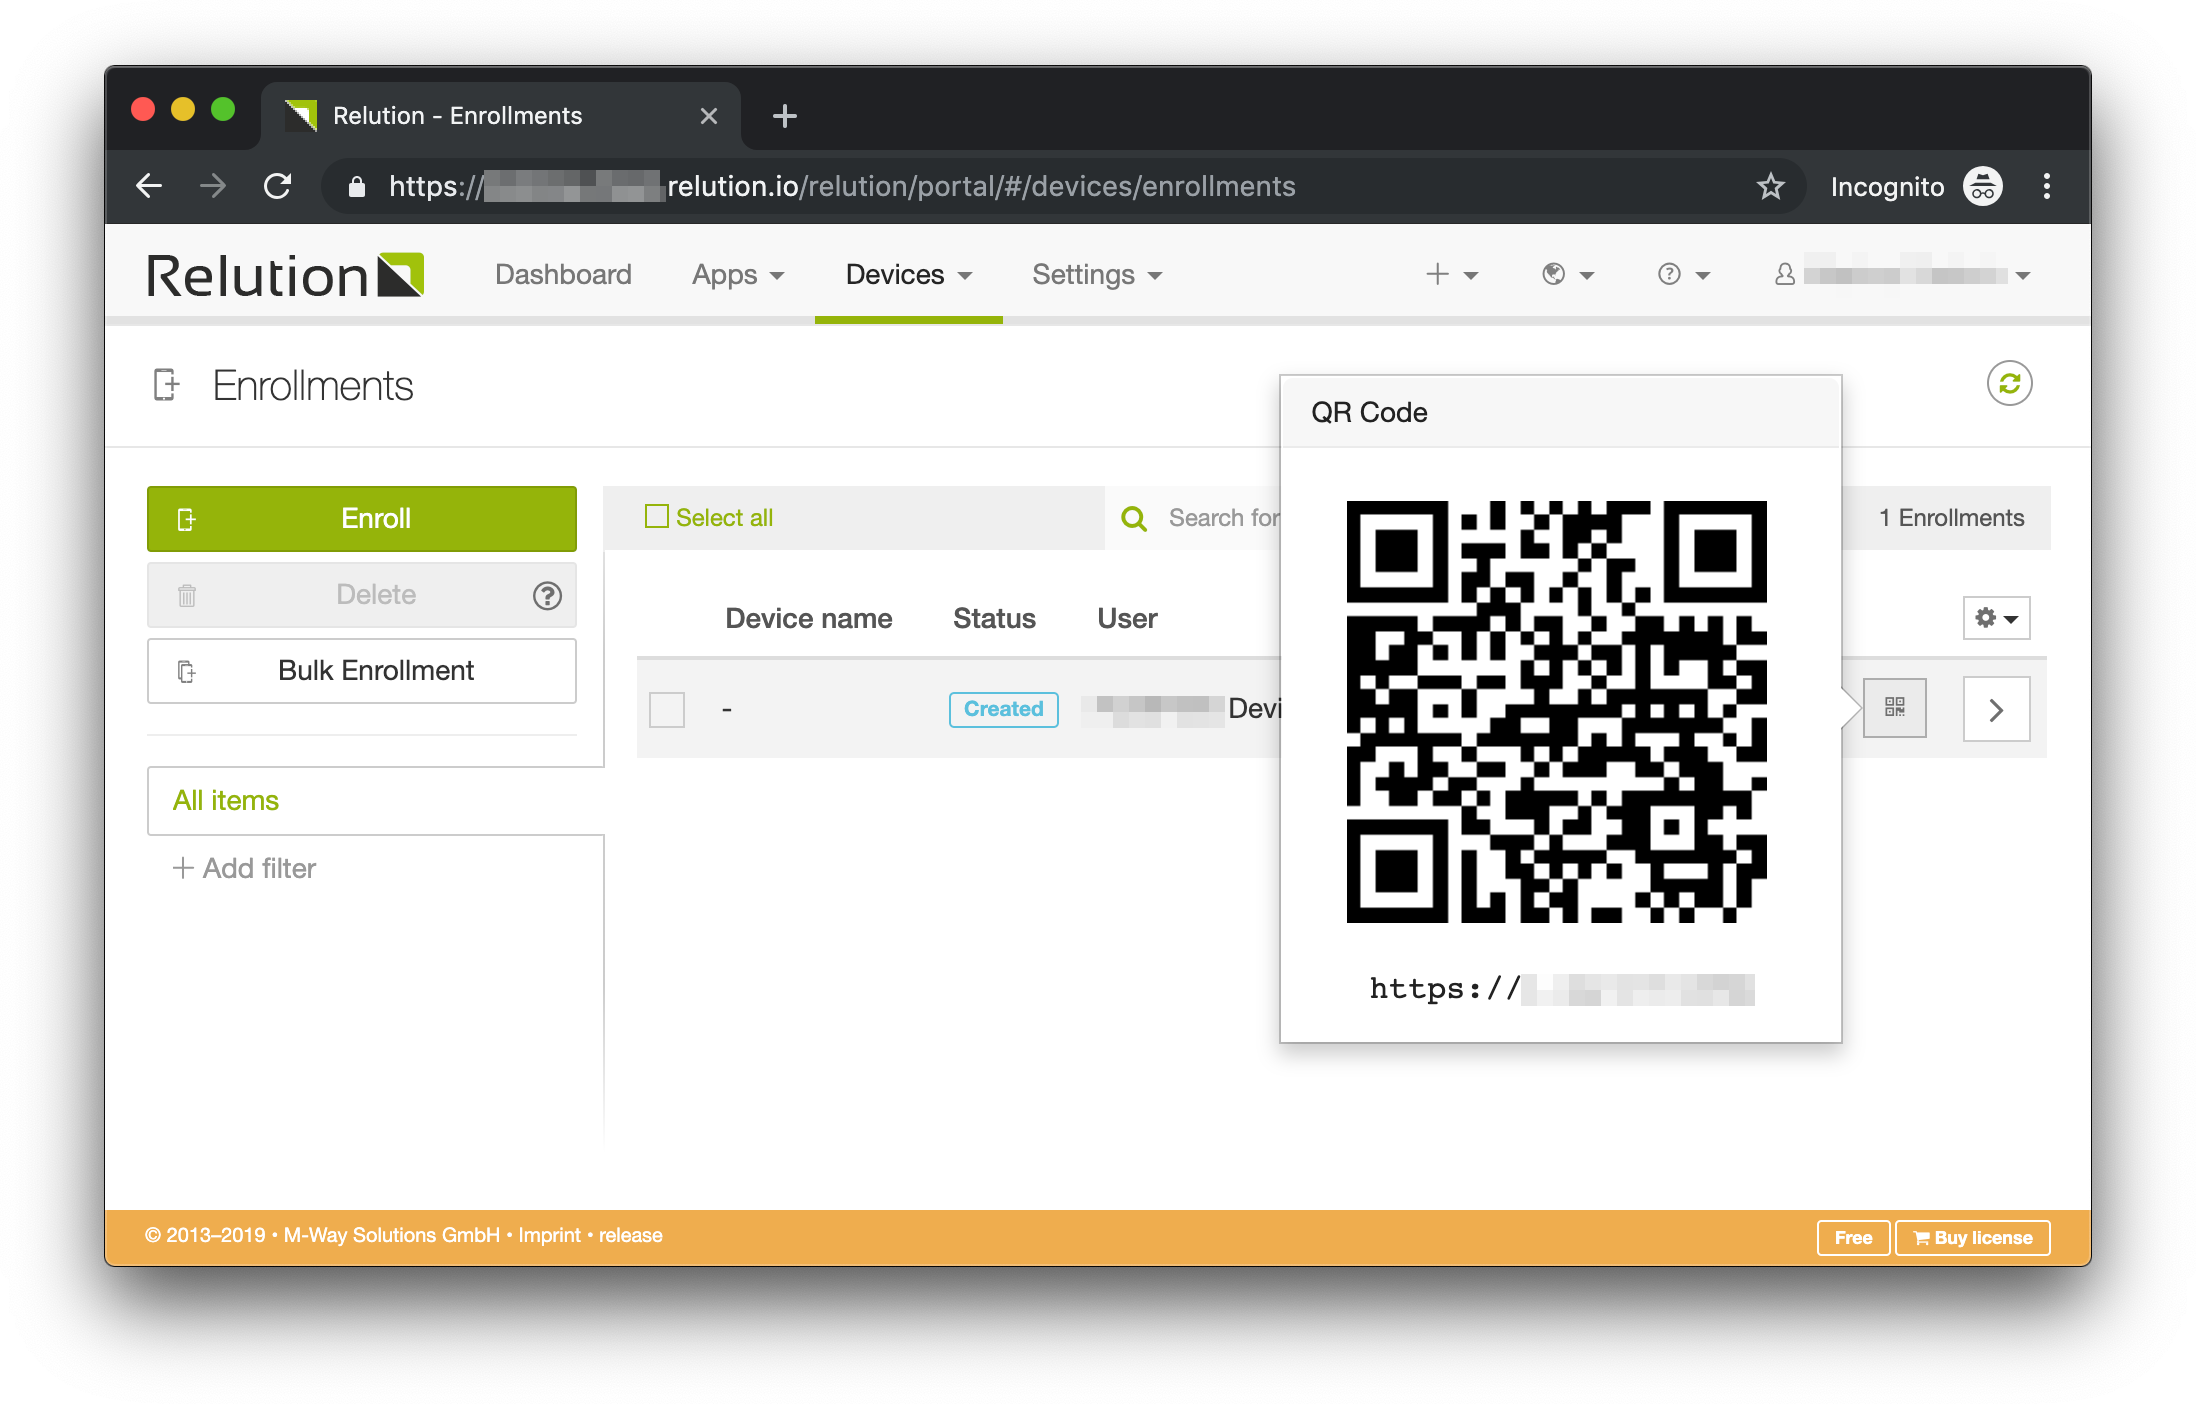
Alternatively, you can manually open the URL that is shown below the QR code on the mobile device. This will open the enrollment landing page. Click Next until you see the Enroll Now button.
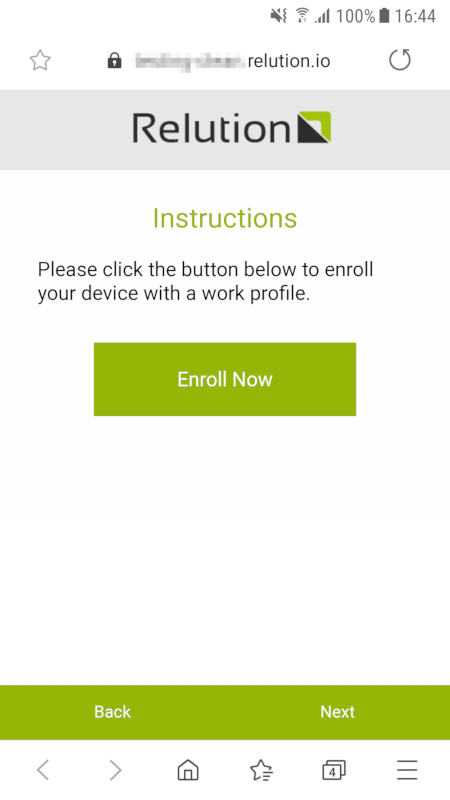
Click the Enroll Now button. This will open Android’s settings page that will guide you through the rest of the enrollment process.
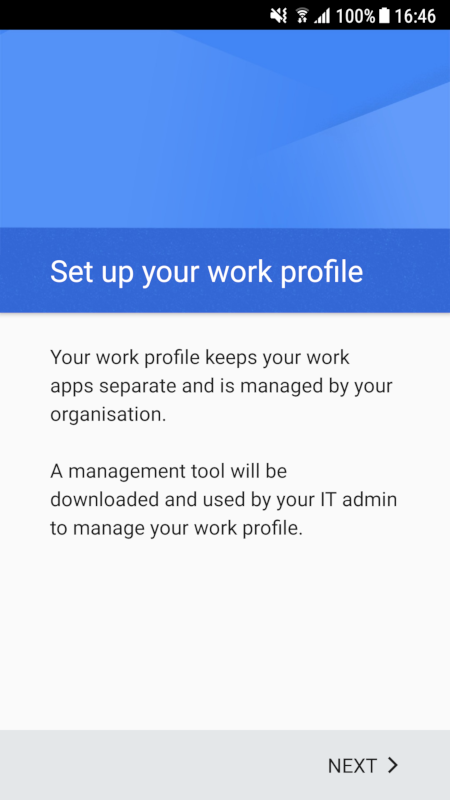
Click on Next and follow the on screen instructions. Once done, a work profile will be set up on your device. This setup process may take an extended period of time, depending on the number of apps that are installed during setup, in case you have assigned a default policy.
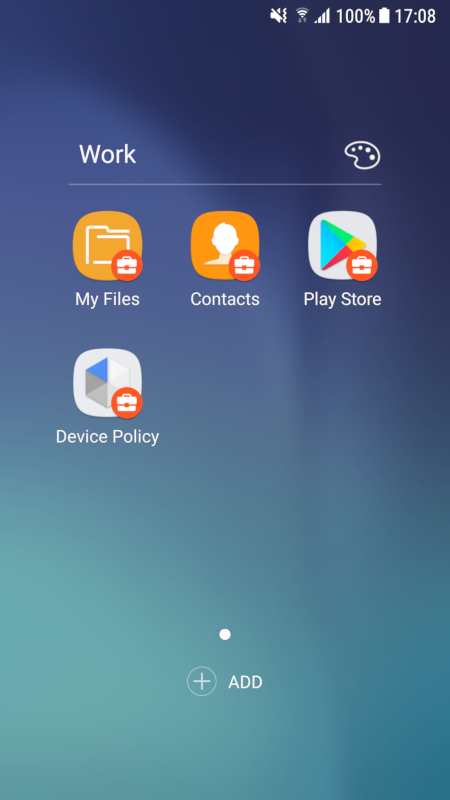
You should now see the enrolled device in Relution’s device inventory.
How to distribute and remotely configure SecurePIM in an Android Workspace
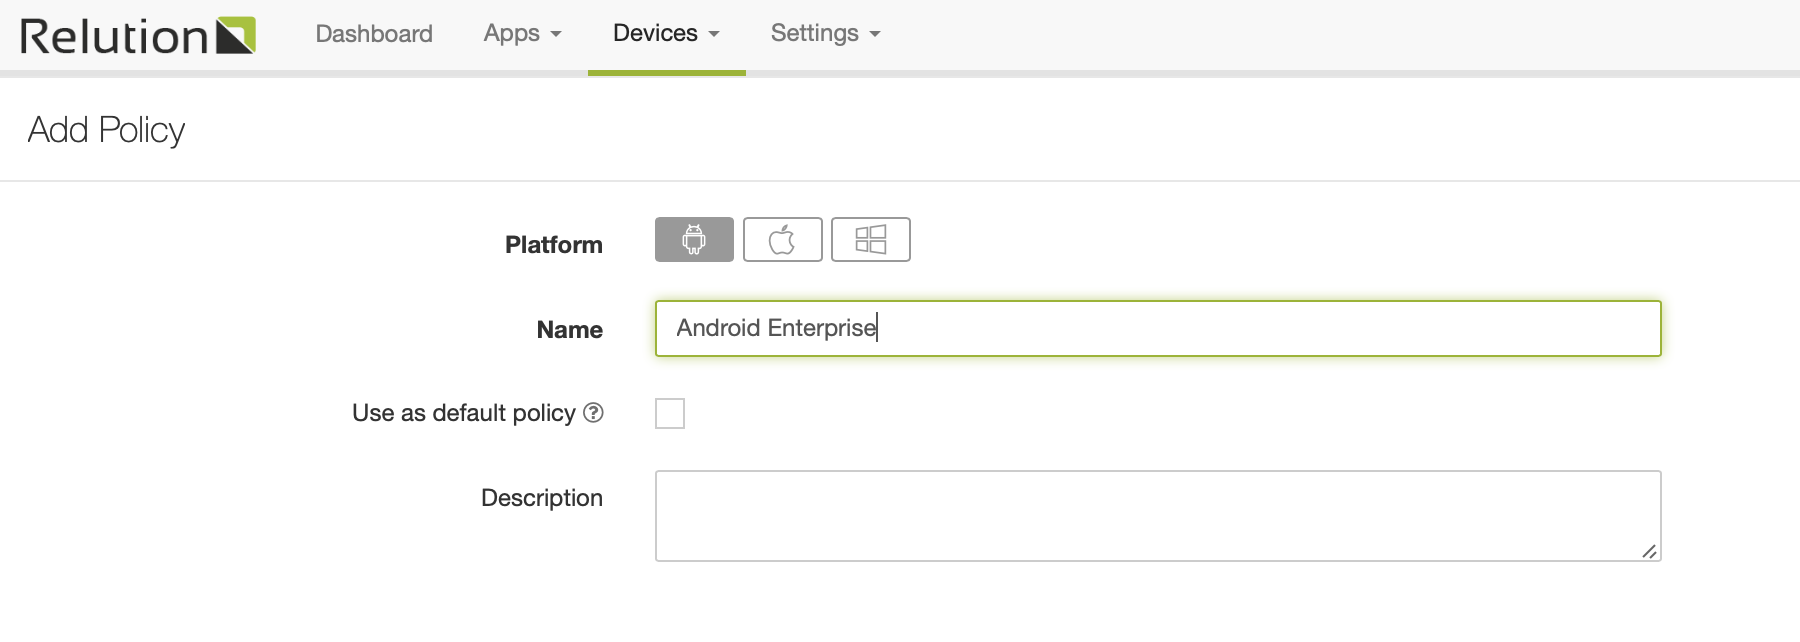
Create a policy
Start by selecting "Devices - Policies" from the system menu and create a new Android Policy:
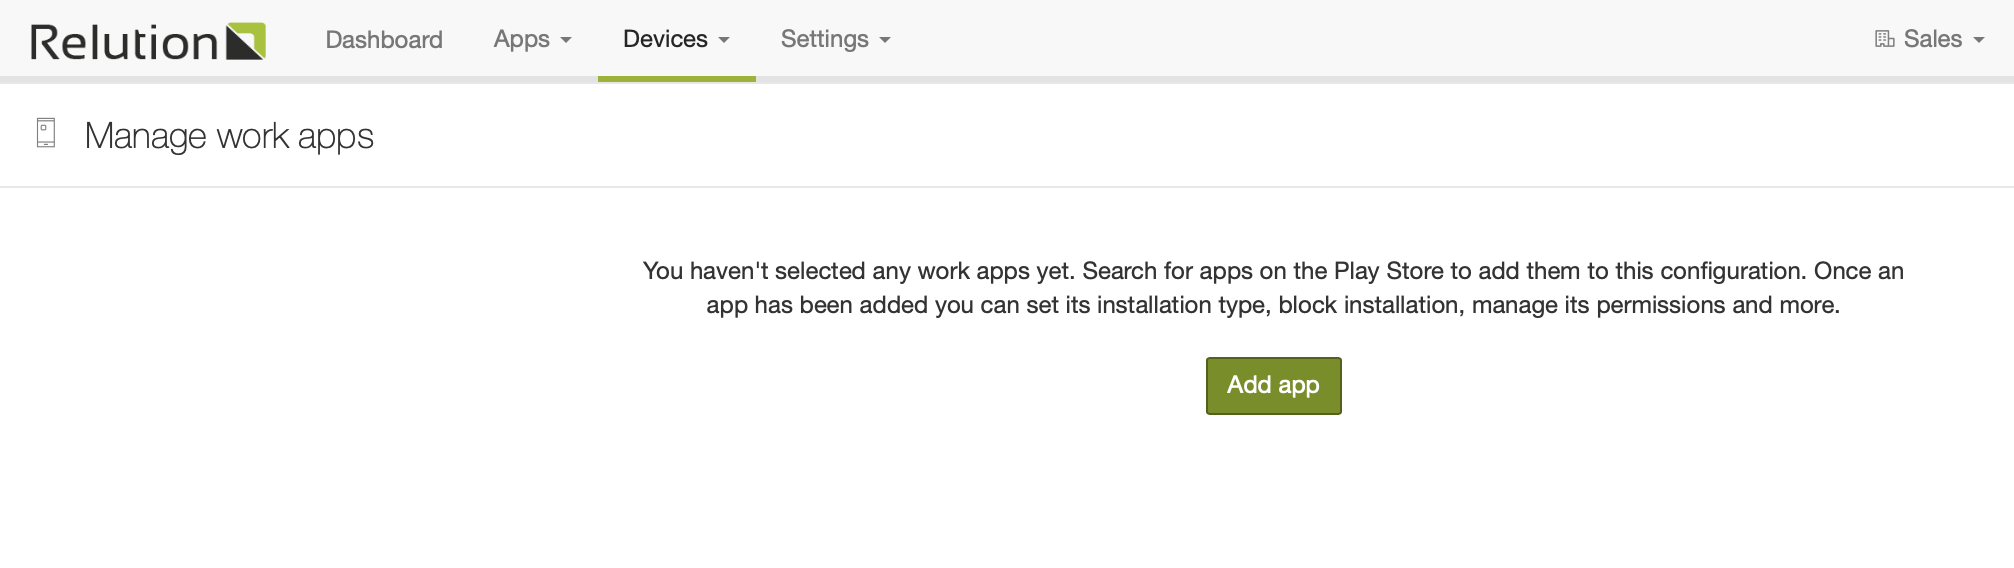
Add SecurePIM to this configuration
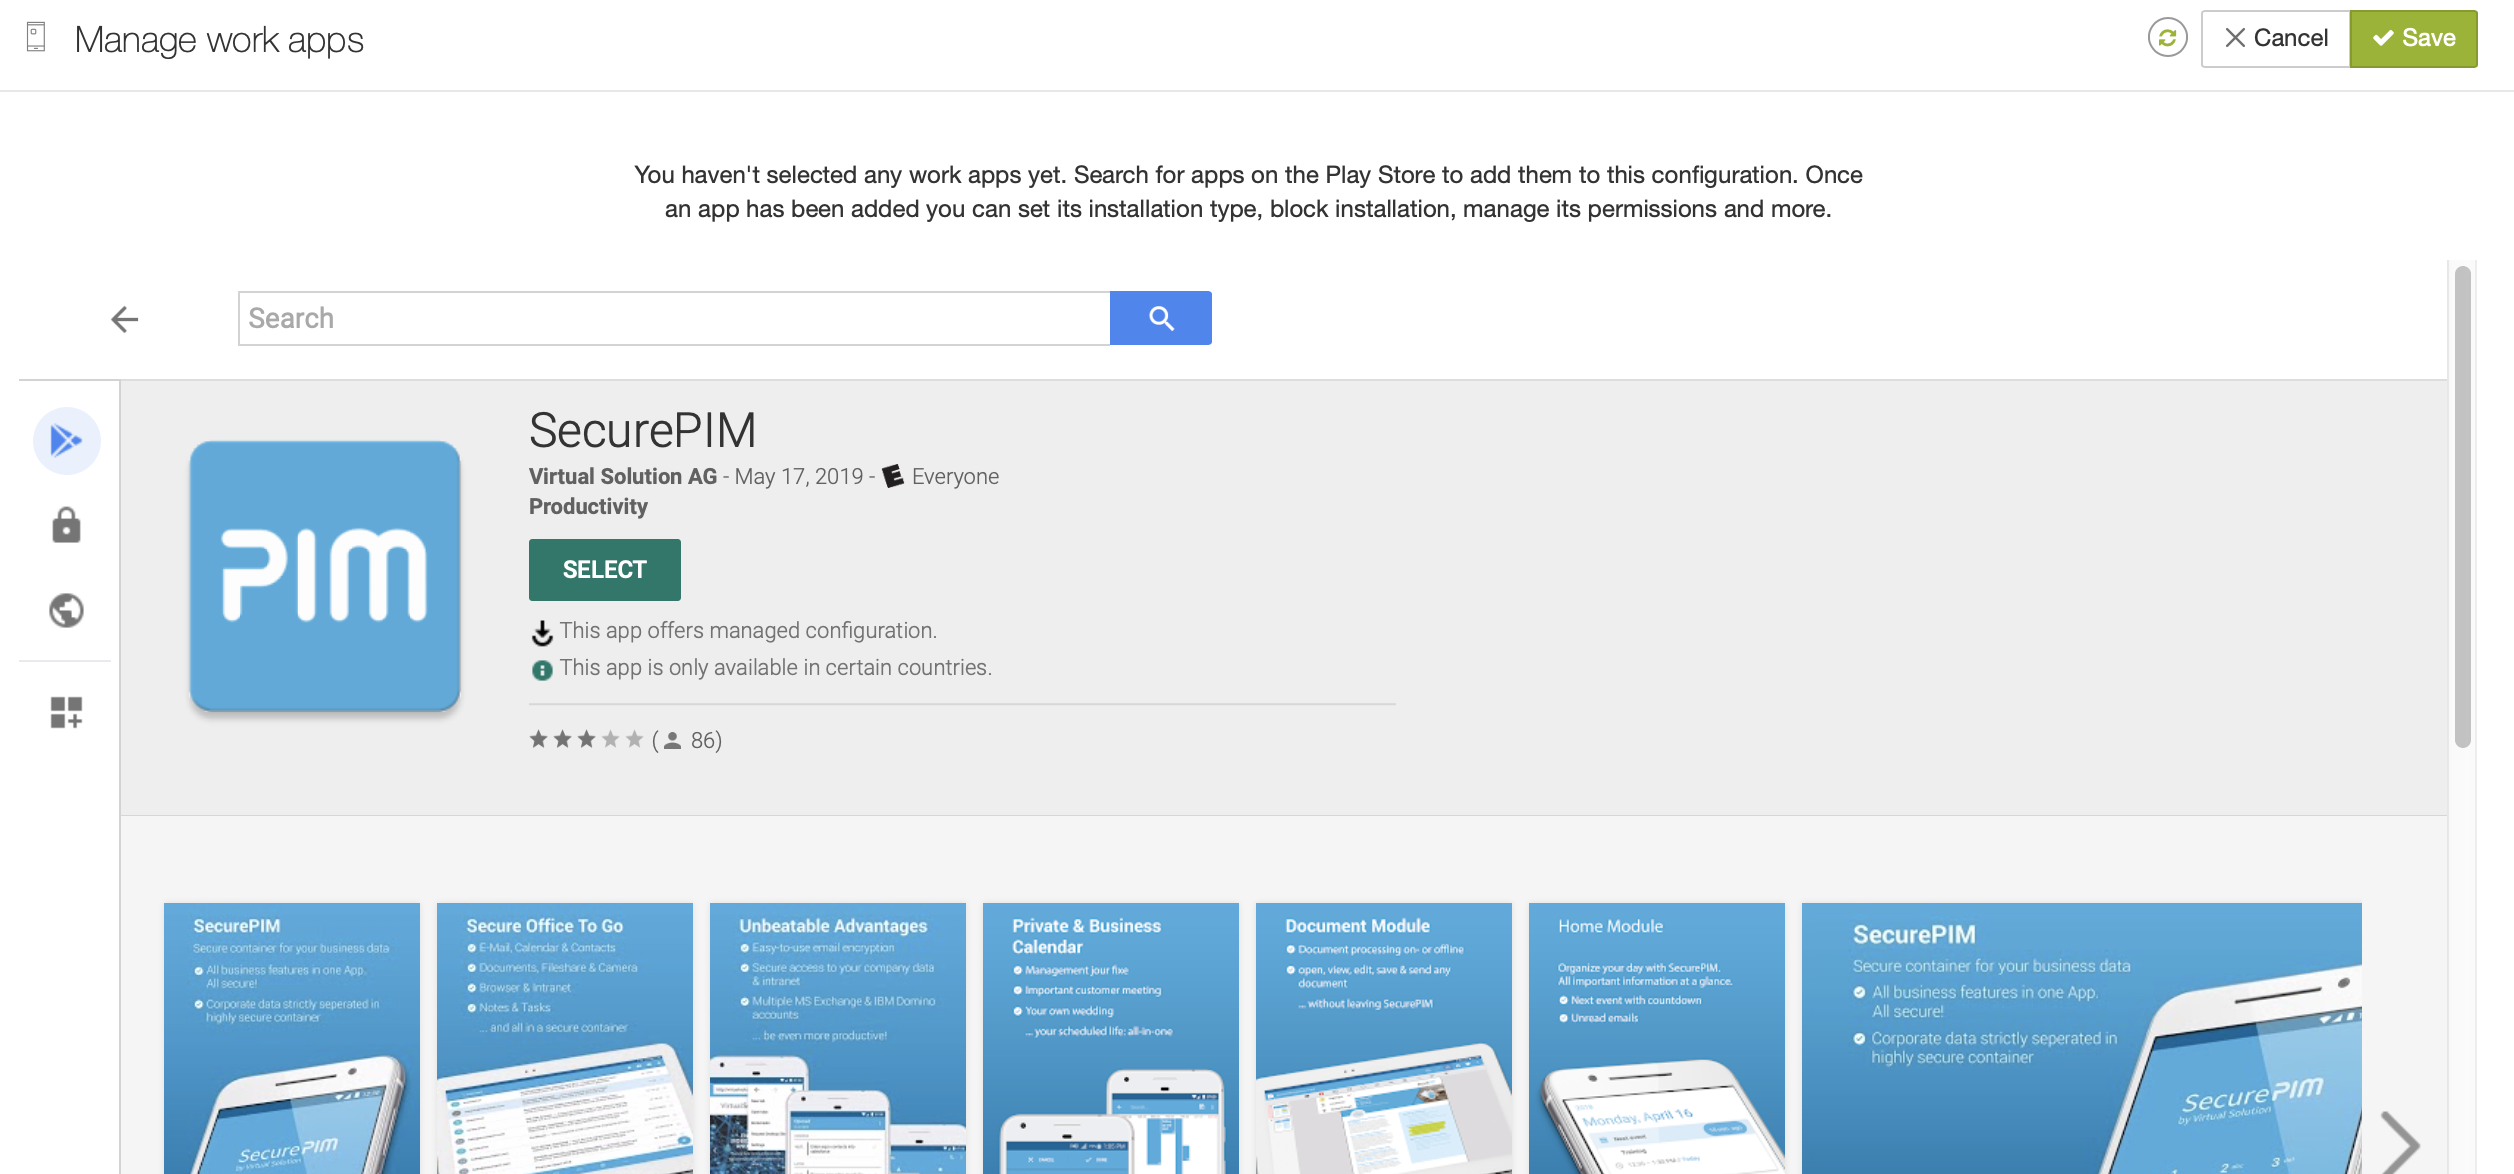
In the PlayStore frame that now opens, find the SecurePIM app by using the search field:
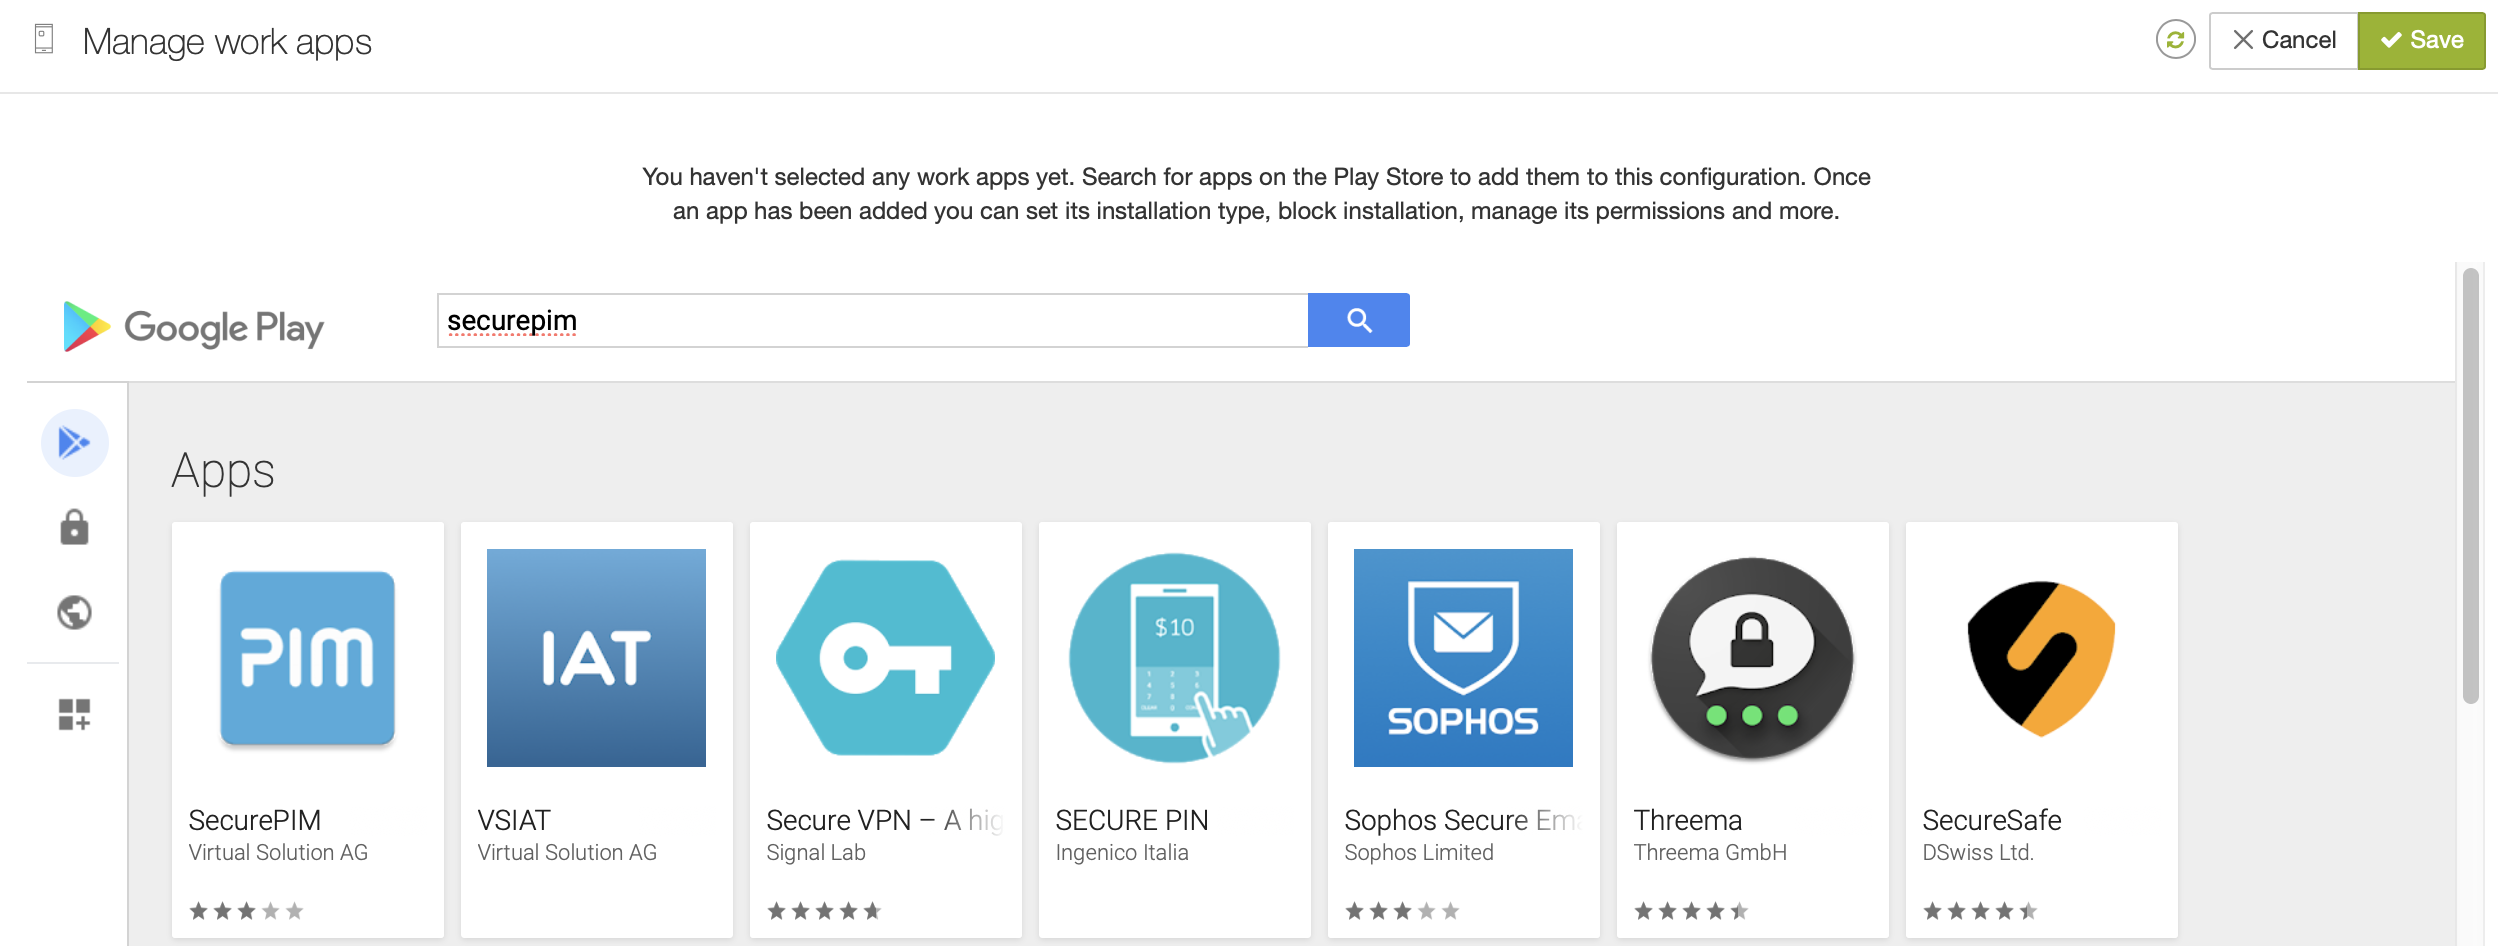
Select the SecurePIM app by clicking on the app’s logo anf then pressing "Select":
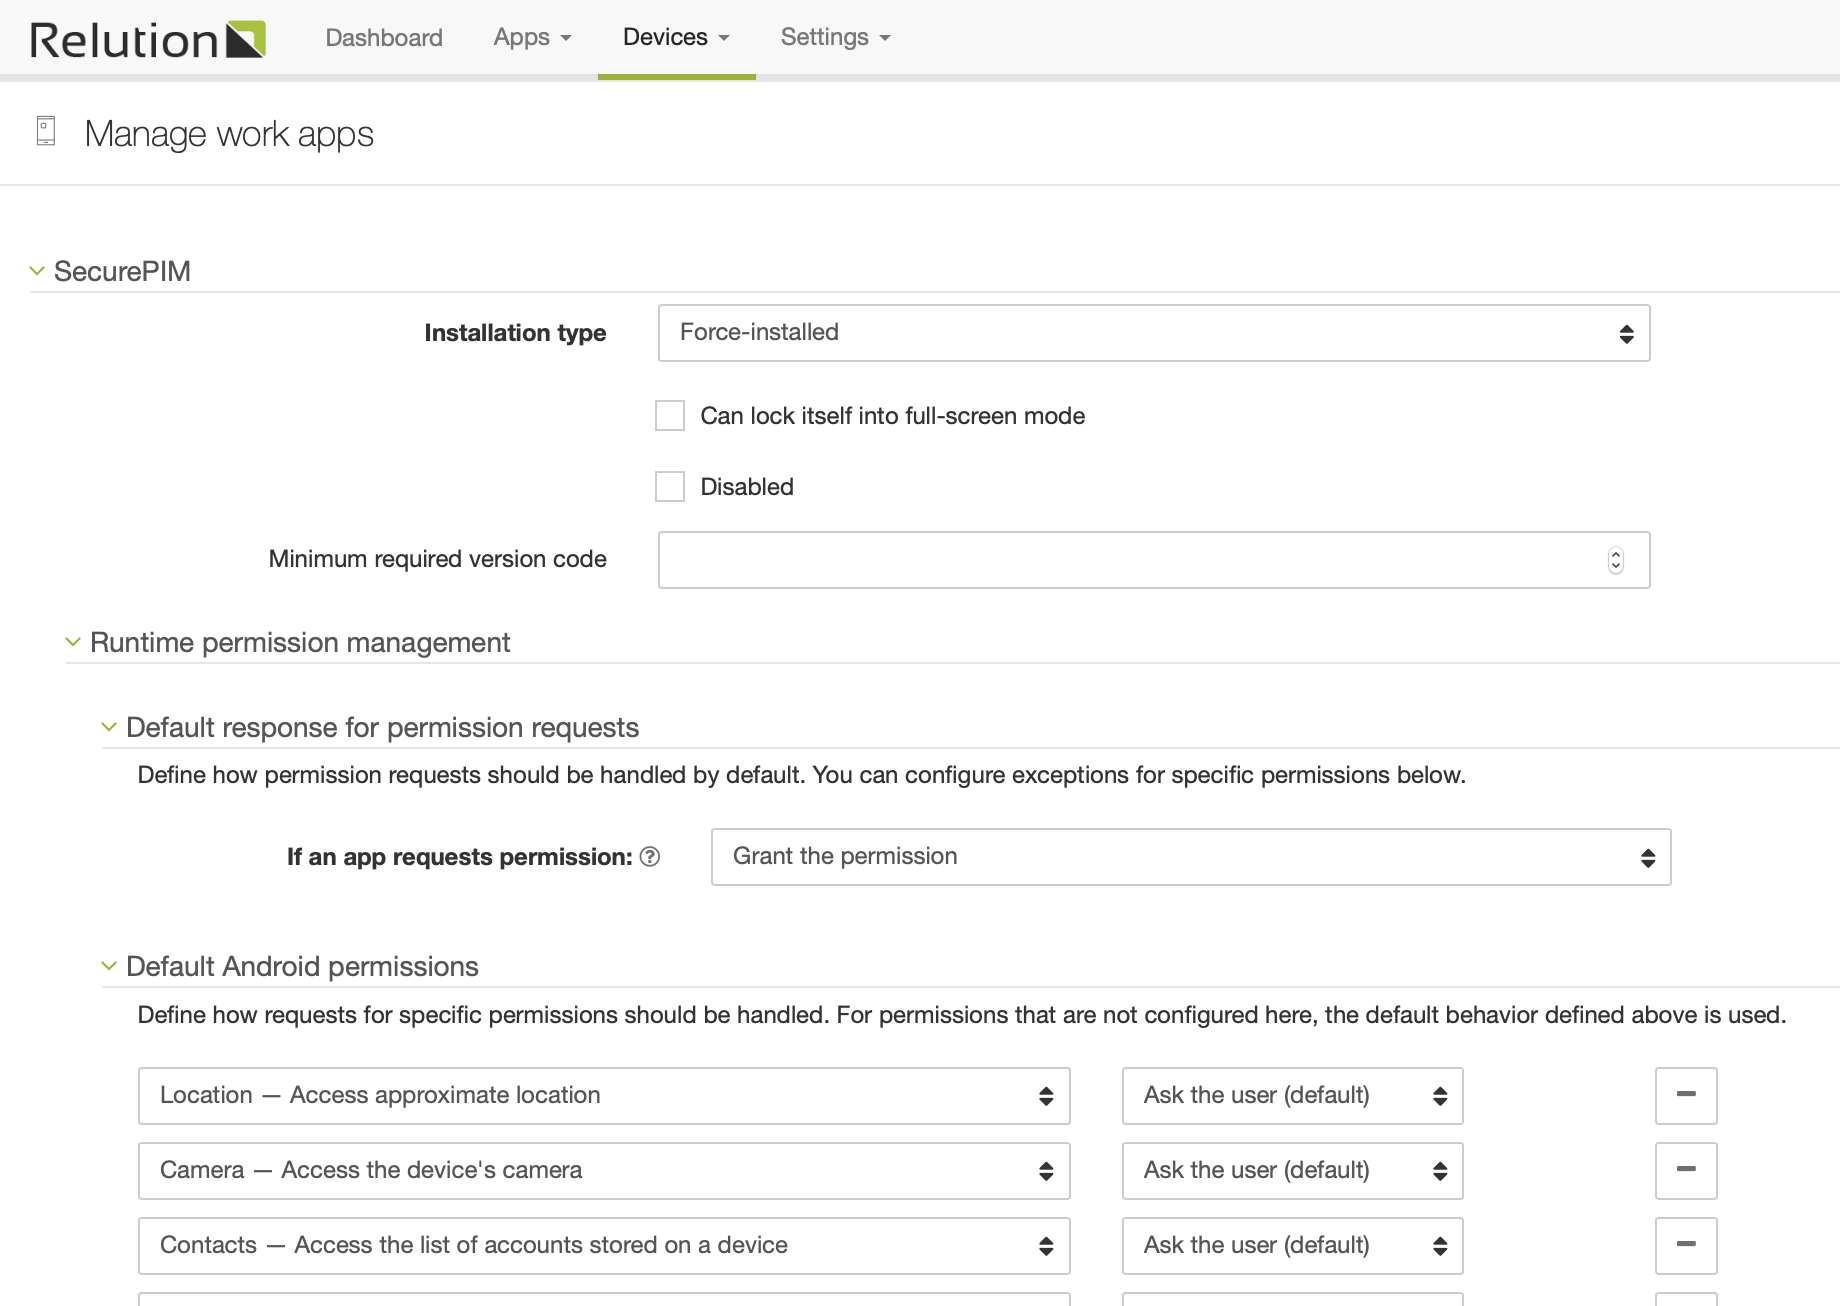
Configure SecurePIM deployment
In the app settings, make sure that SecurePIM is set to "force-install" and that the app permissions are granted automatically:
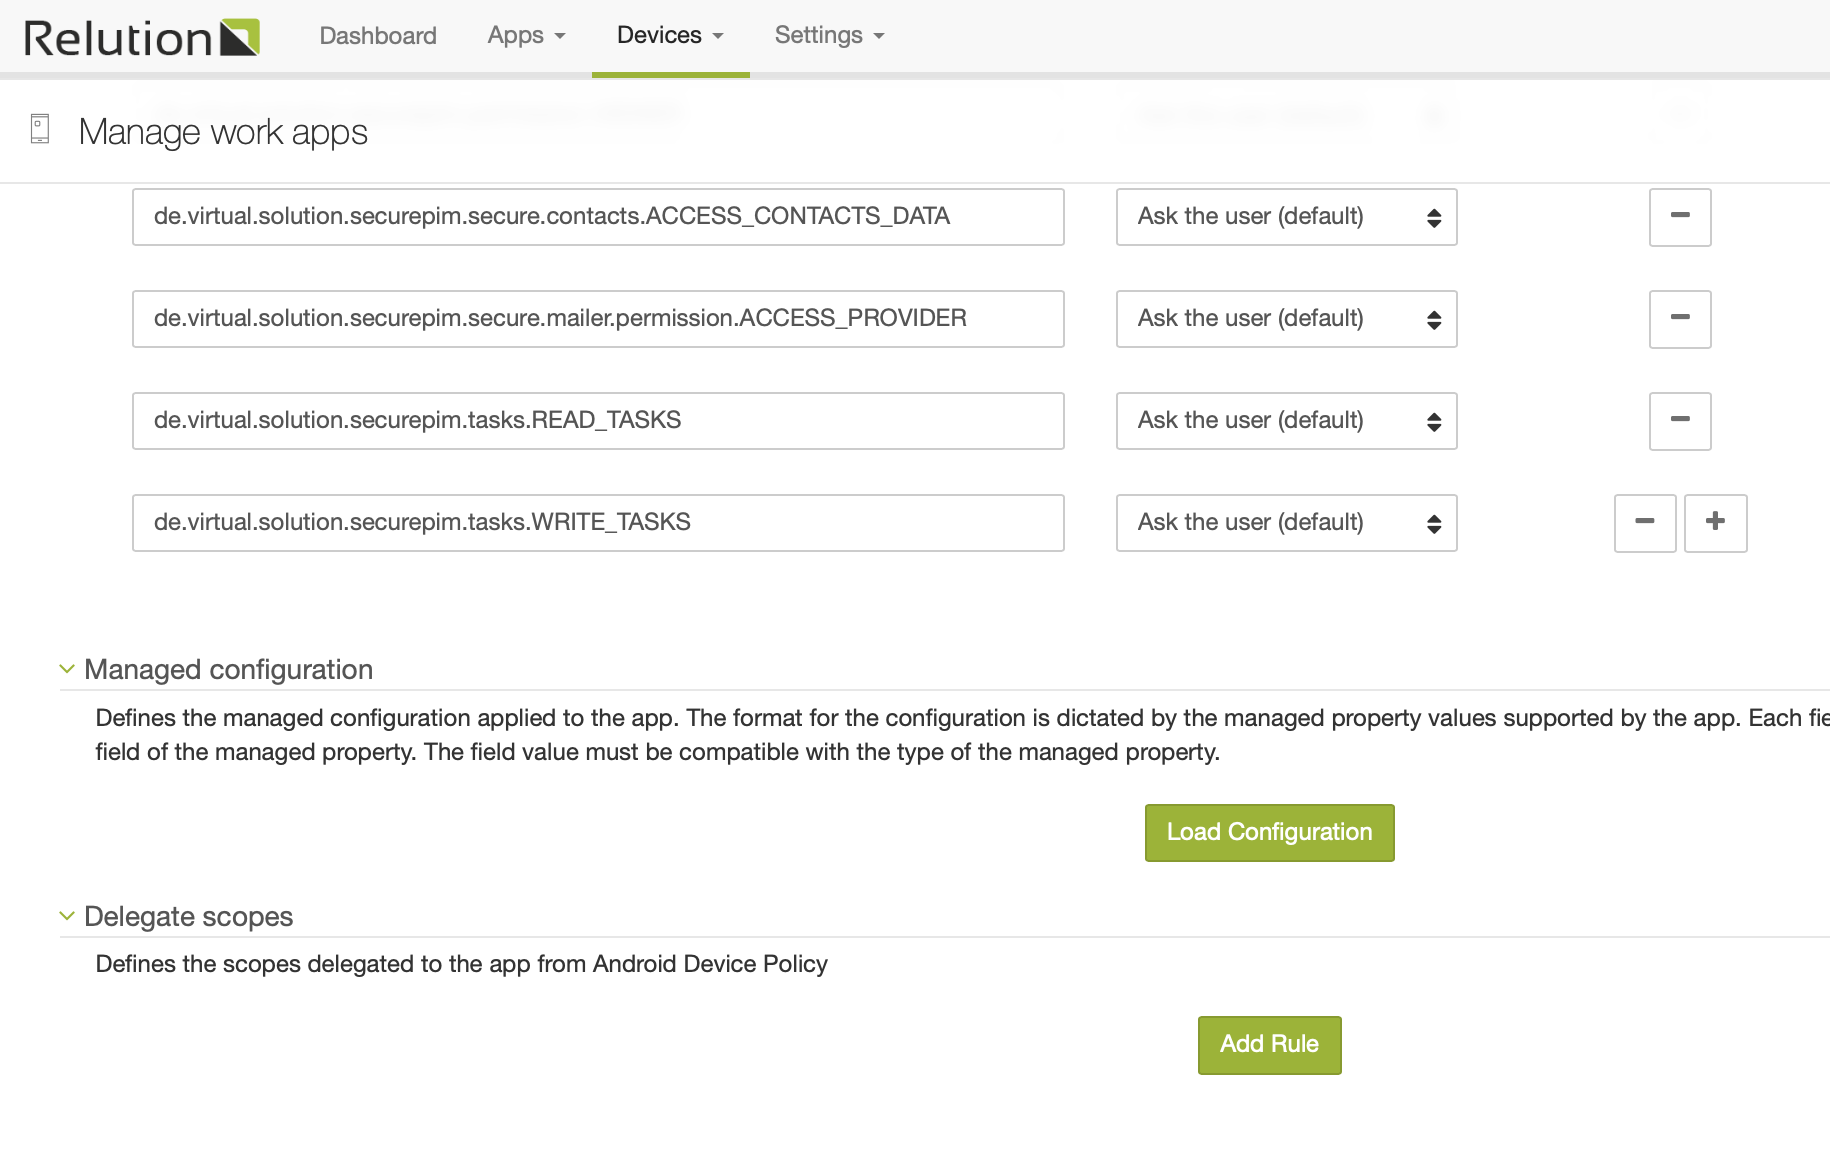
Configure SecurePIM app settings
Add a managed app configuration by pressing the "Load configuration" button:
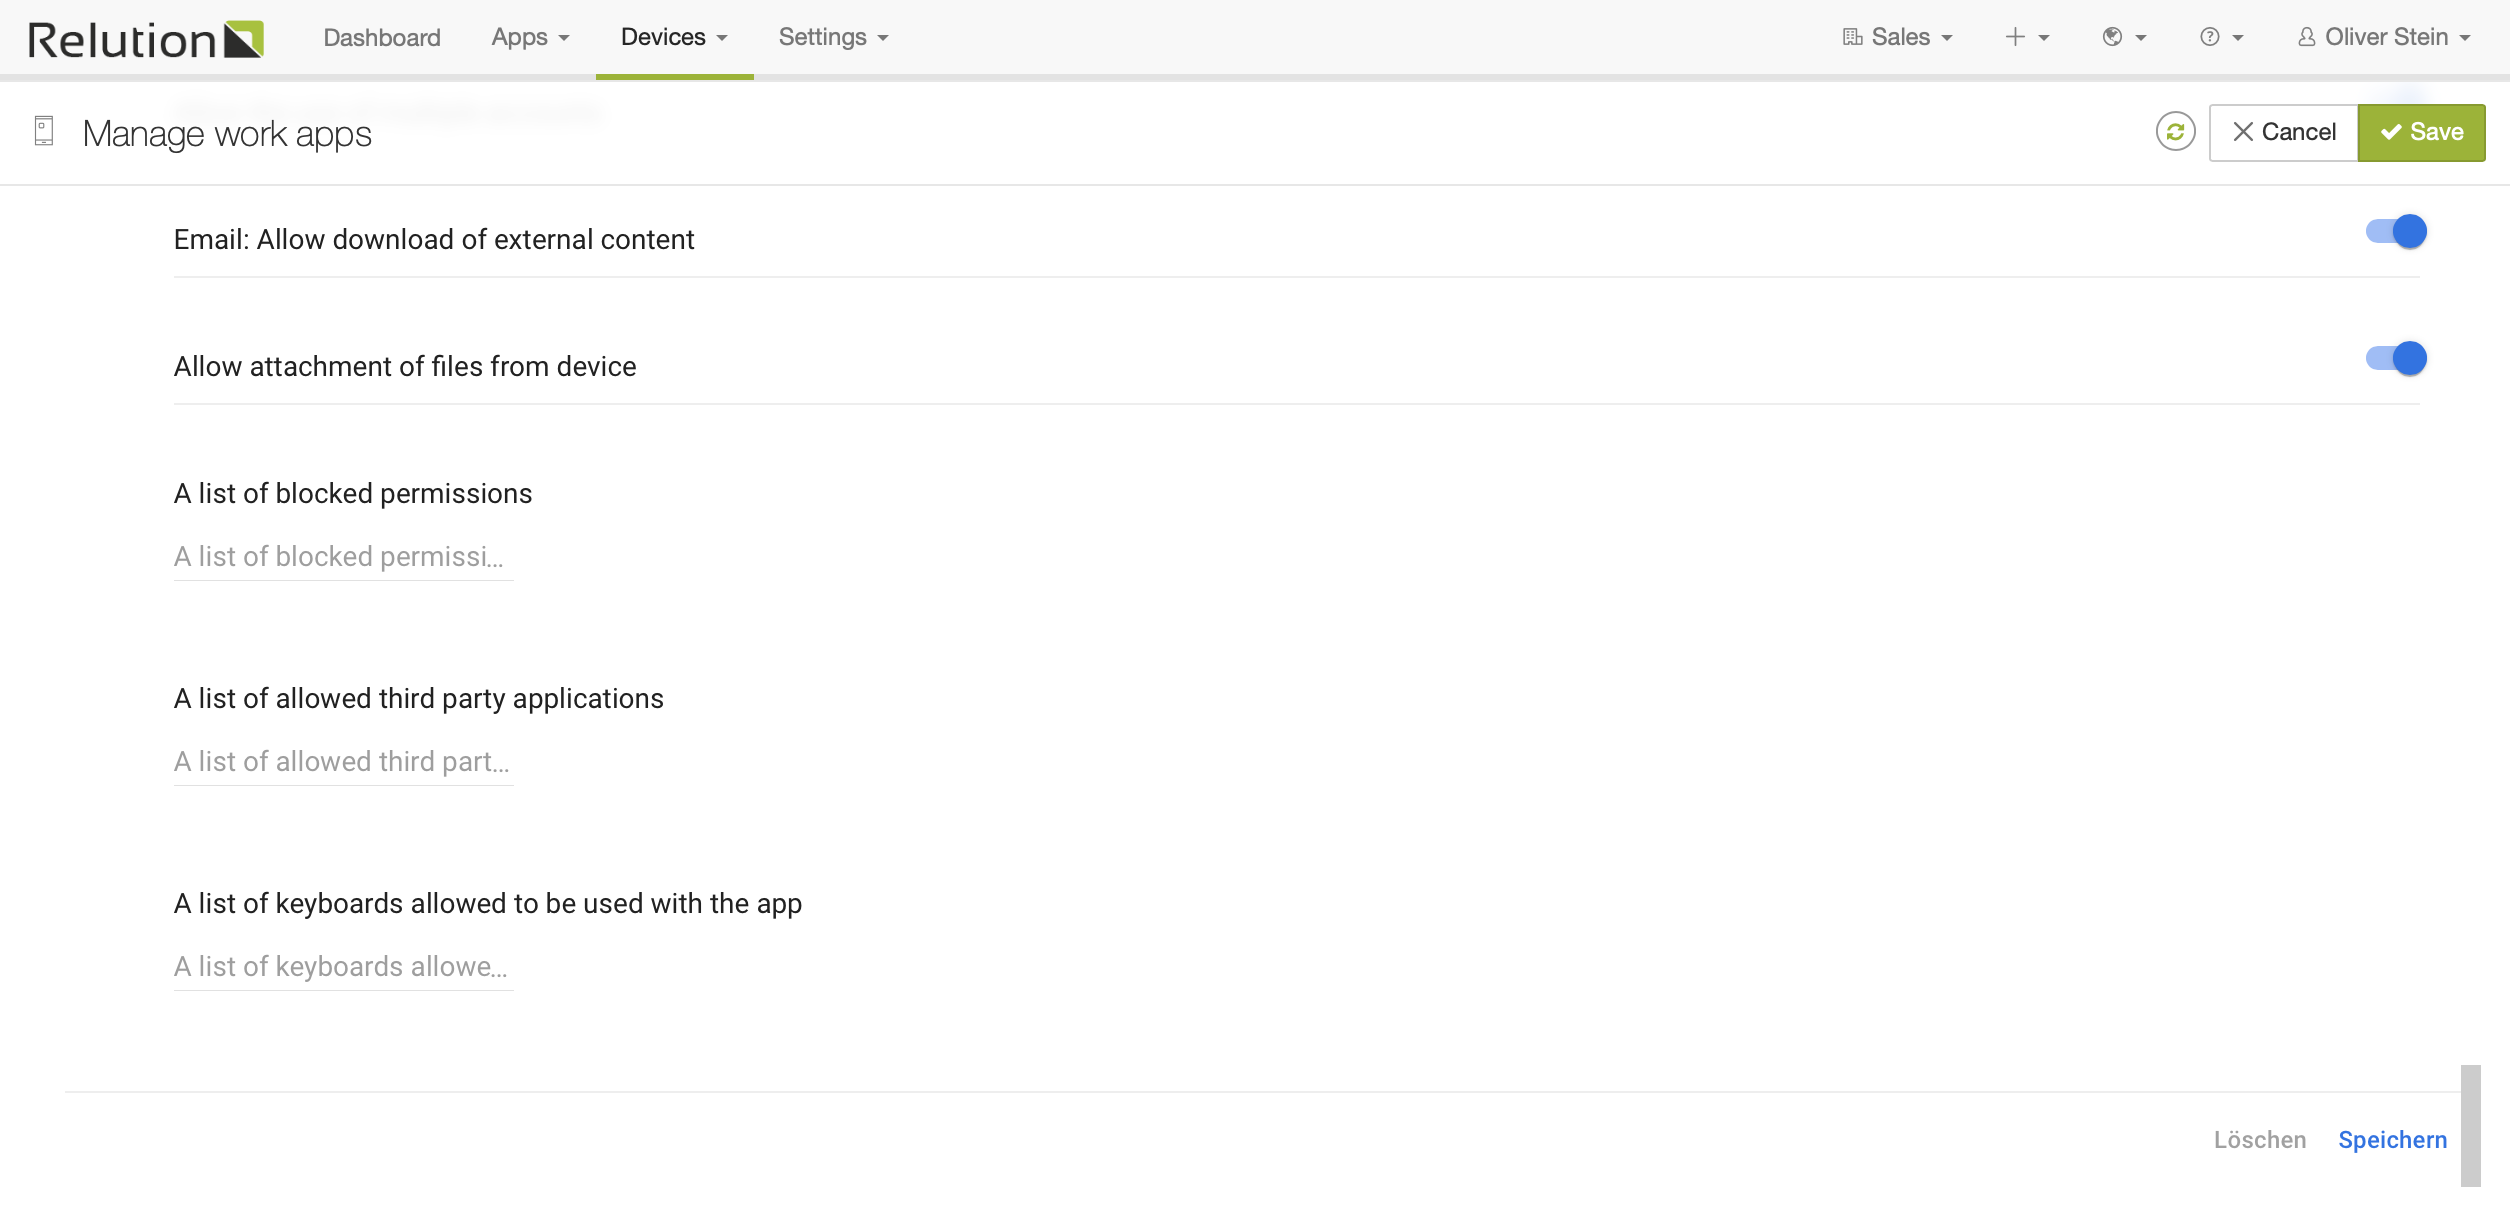
Then, name the configuration and configure at least the first 4 parameters of the app shown in the image below:
-
User email (you may use the ${user.email} placeholder here to have Relution put in the device user’s eMail address)
-
Active sync server (i.e. "outlook.office365.com" for Office365)
-
Recipient certificate email (the same as the User email)
-
MDM License (received when purchasing the app, in the format xxxxxxxx-xxxx-xxxx-xxxx-xxxxxxxxxxxx)

IMPORTANT! Save the app configuration by scrolling all the way down in the app config frame and clicking the "Save" link in the bottom right corner:
Finally, save the configuration by pressing the "Save" button in the top right corner.