Android devices
As an administrator
Before you can enroll an Android device, you need to create an enrollment as described in Enrolling a Device.
As a user
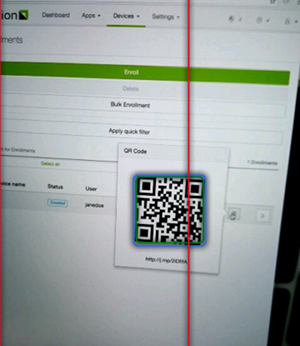
The following steps have to be completed by the user of the mobile device. Depending on the notification options that were set when creating the enrollment, the user will be notified via email or SMS. If you chose not to notify the user automatically, you will have to notify them yourself. If you are a Device Manager, then you can also let them scan the QR code directly on your Relution portal by hovering your mouse over the enrollment’s QR code icon.
Regular Enrollment
This is the preferred method for enrolling an Android device since it is both faster and easier than a complete manual enrollment.
-
Make sure the device is connected to the Internet (Wi-Fi or mobile network).
-
To begin the enrollment:
-
If you received an enrollment email, either open the email on your mobile device and click on the link, or open the email on another device and scan the QR code using your mobile device.
-
If you received an enrollment SMS, click on the link in the SMS.
-
If you did not receive an email or SMS contact your administrator for further instructions.
-
-
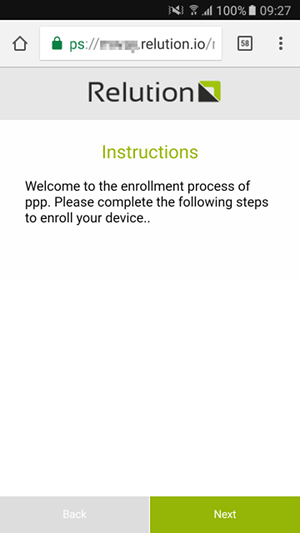
You should see this welcome screen on you mobile device’s browser. Tap on next to continue.
-
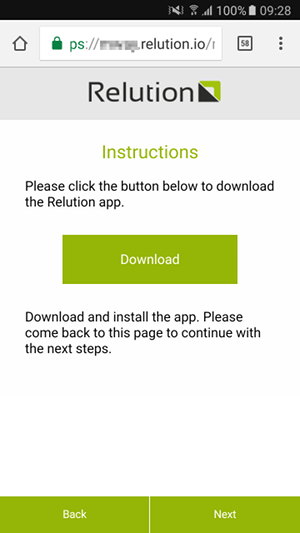
You will now be asked to download and install Relution for Android. After you’ve completed the installation, close the Relution app and return to the browser to continue with the enrollment.
If installation fails, and you are not using the Relution app from the Google Play Store, ensure you’ve allowed installation of third-party apps in your device’s settings (Settings > Security > Unknown Sources).

-
Tap on GET STARTED to continue
-
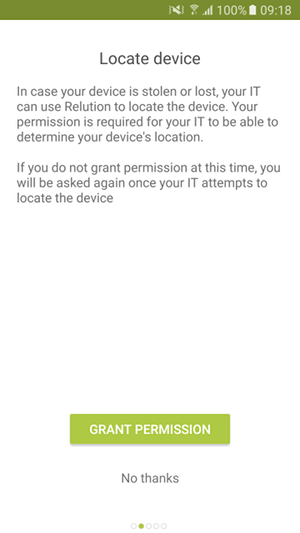
If your device is running Android 6 or newer, you will be asked to allow Relution to locate your device. If you do not grant this permission, your administrator will not be able to locate your device in case it is stolen or lost.
-
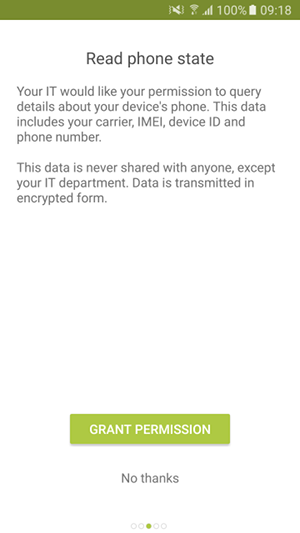
If your device is running Android 6 or newer, you will be asked to allow Relution to read your phone’s state. This is used to share your phone number and IMEI with your administrator. This information is transferred encrypted and is never shared with third parties.
-
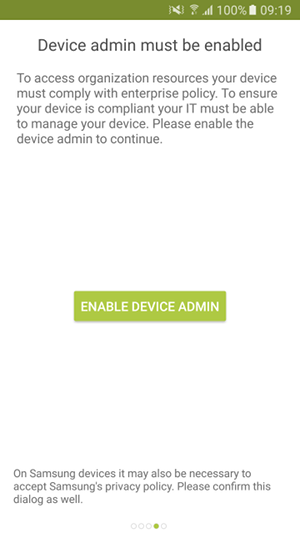
You will now be asked to grant Relution administrative privileges. This is required to ensure that your device complies with enterprise requirements, like password policies.
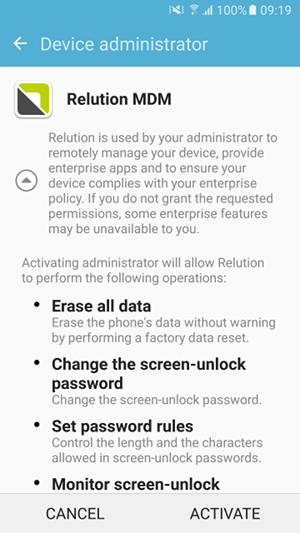
Tap on ACTIVATE in order to grant administrative permissions. Depending on your device’s manufacturer and Android version the layout of the screen may differ from the screenshot above.
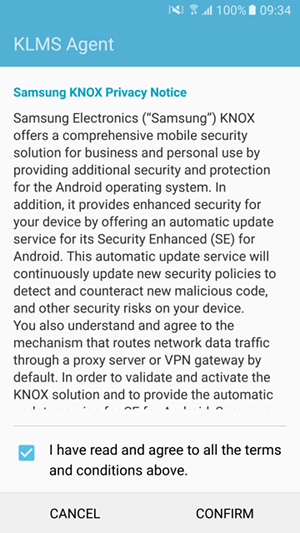
On Samsung devices running Android 4.2 or newer, you will also be asked to accept Samsung’s privacy policy. Please confirm this screen as well.
-
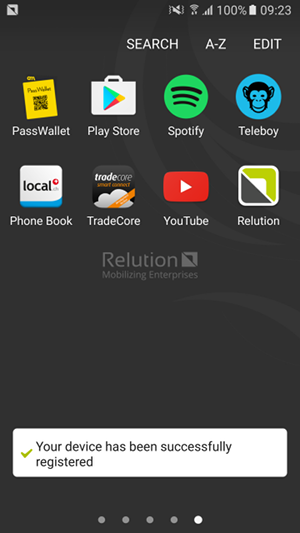
Your device will now finish the enrollment process. If you are enrolling the device manually, continue with step 4 of the manual enrollment.
Manual Enrollment
If the normal enrollment process does not work for some reason, it is also possible to complete all steps manually.
-
Make sure the device is connected to the Internet (Wi-Fi or mobile network).
-
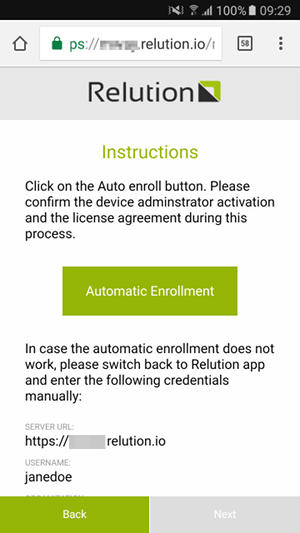
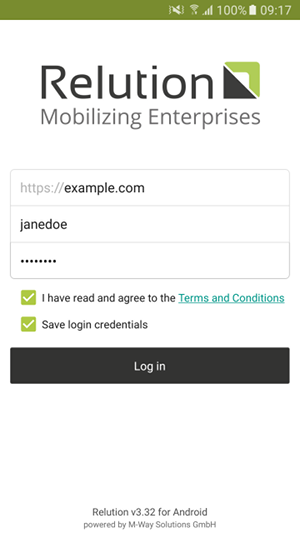
Enter the server URL and your credentials to log in. You can find this information in the enrollment email (except for your password). If you did not get an email or do not know your password, contact your administrator.
-
You should now see the enrollment welcome screen. Follow steps 6 - 9 of the regular enrollment process.
-
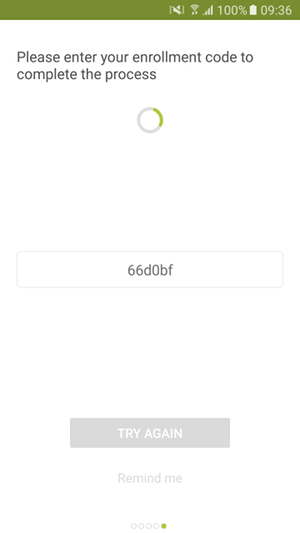
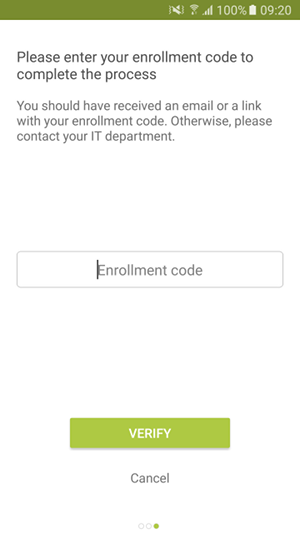
After activating the device administrator you will have to manually enter the enrollment code. This code is also part of the enrollment email. If you did not get an email contact your administrator to get the code.
-
Click on VERIFY to complete the enrollment process.