Windows 10 devices
The following chapters show you how to enroll windows 10 devices. The first chapter describes how to create an enrollment. These steps are the same for all platforms. Once you have created an enrollment, go to the platform specific steps.
|
As an administrator
Before you can enroll an Android device, you need to create an enrollment as described in Enrolling a Device.
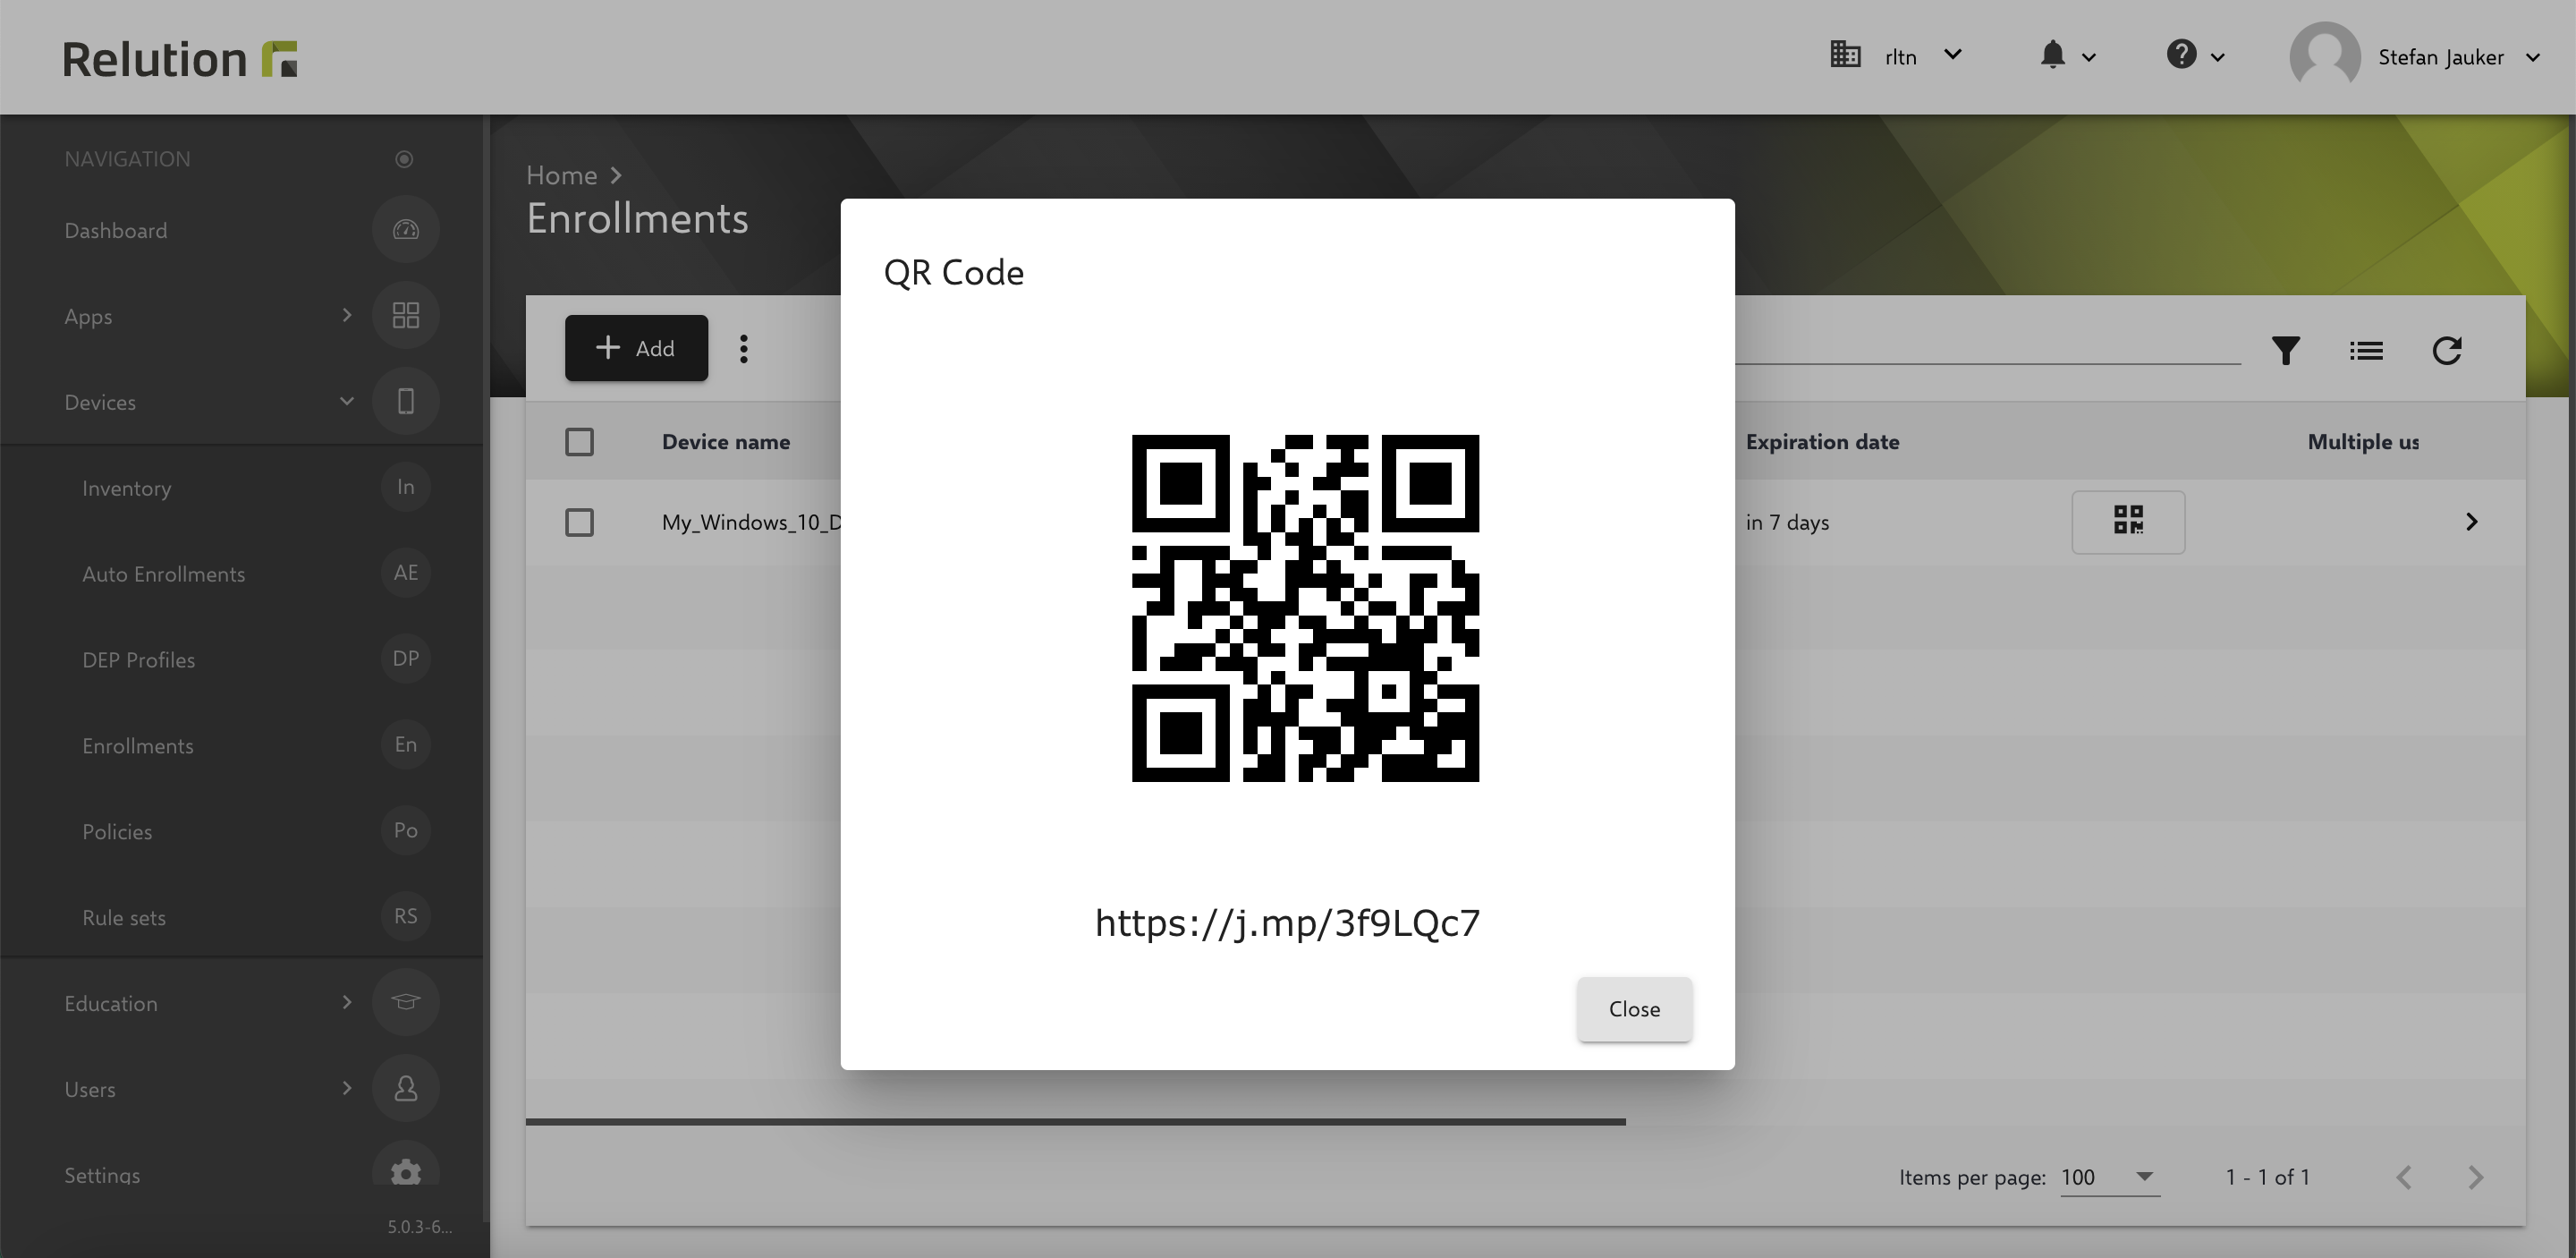
Depending on the notification options that were set when creating the enrollment, the user will be notified via email or SMS. If you chose not to notify the user, you will have to notify them yourself. If you are a Device Manager, then you can get the enrollment link on your Relution portal by clicking on the enrollment’s QR code icon.
As a user
The following steps have to be completed by the user of the windows 10 device.
-
Make sure the device is connected to the Internet (Wi-Fi or mobile network).
-
To begin the enrollment:
-
If you received an enrollment email, either open the email on your windows 10 device and click on the link, or enter the link the device browser.
-
-
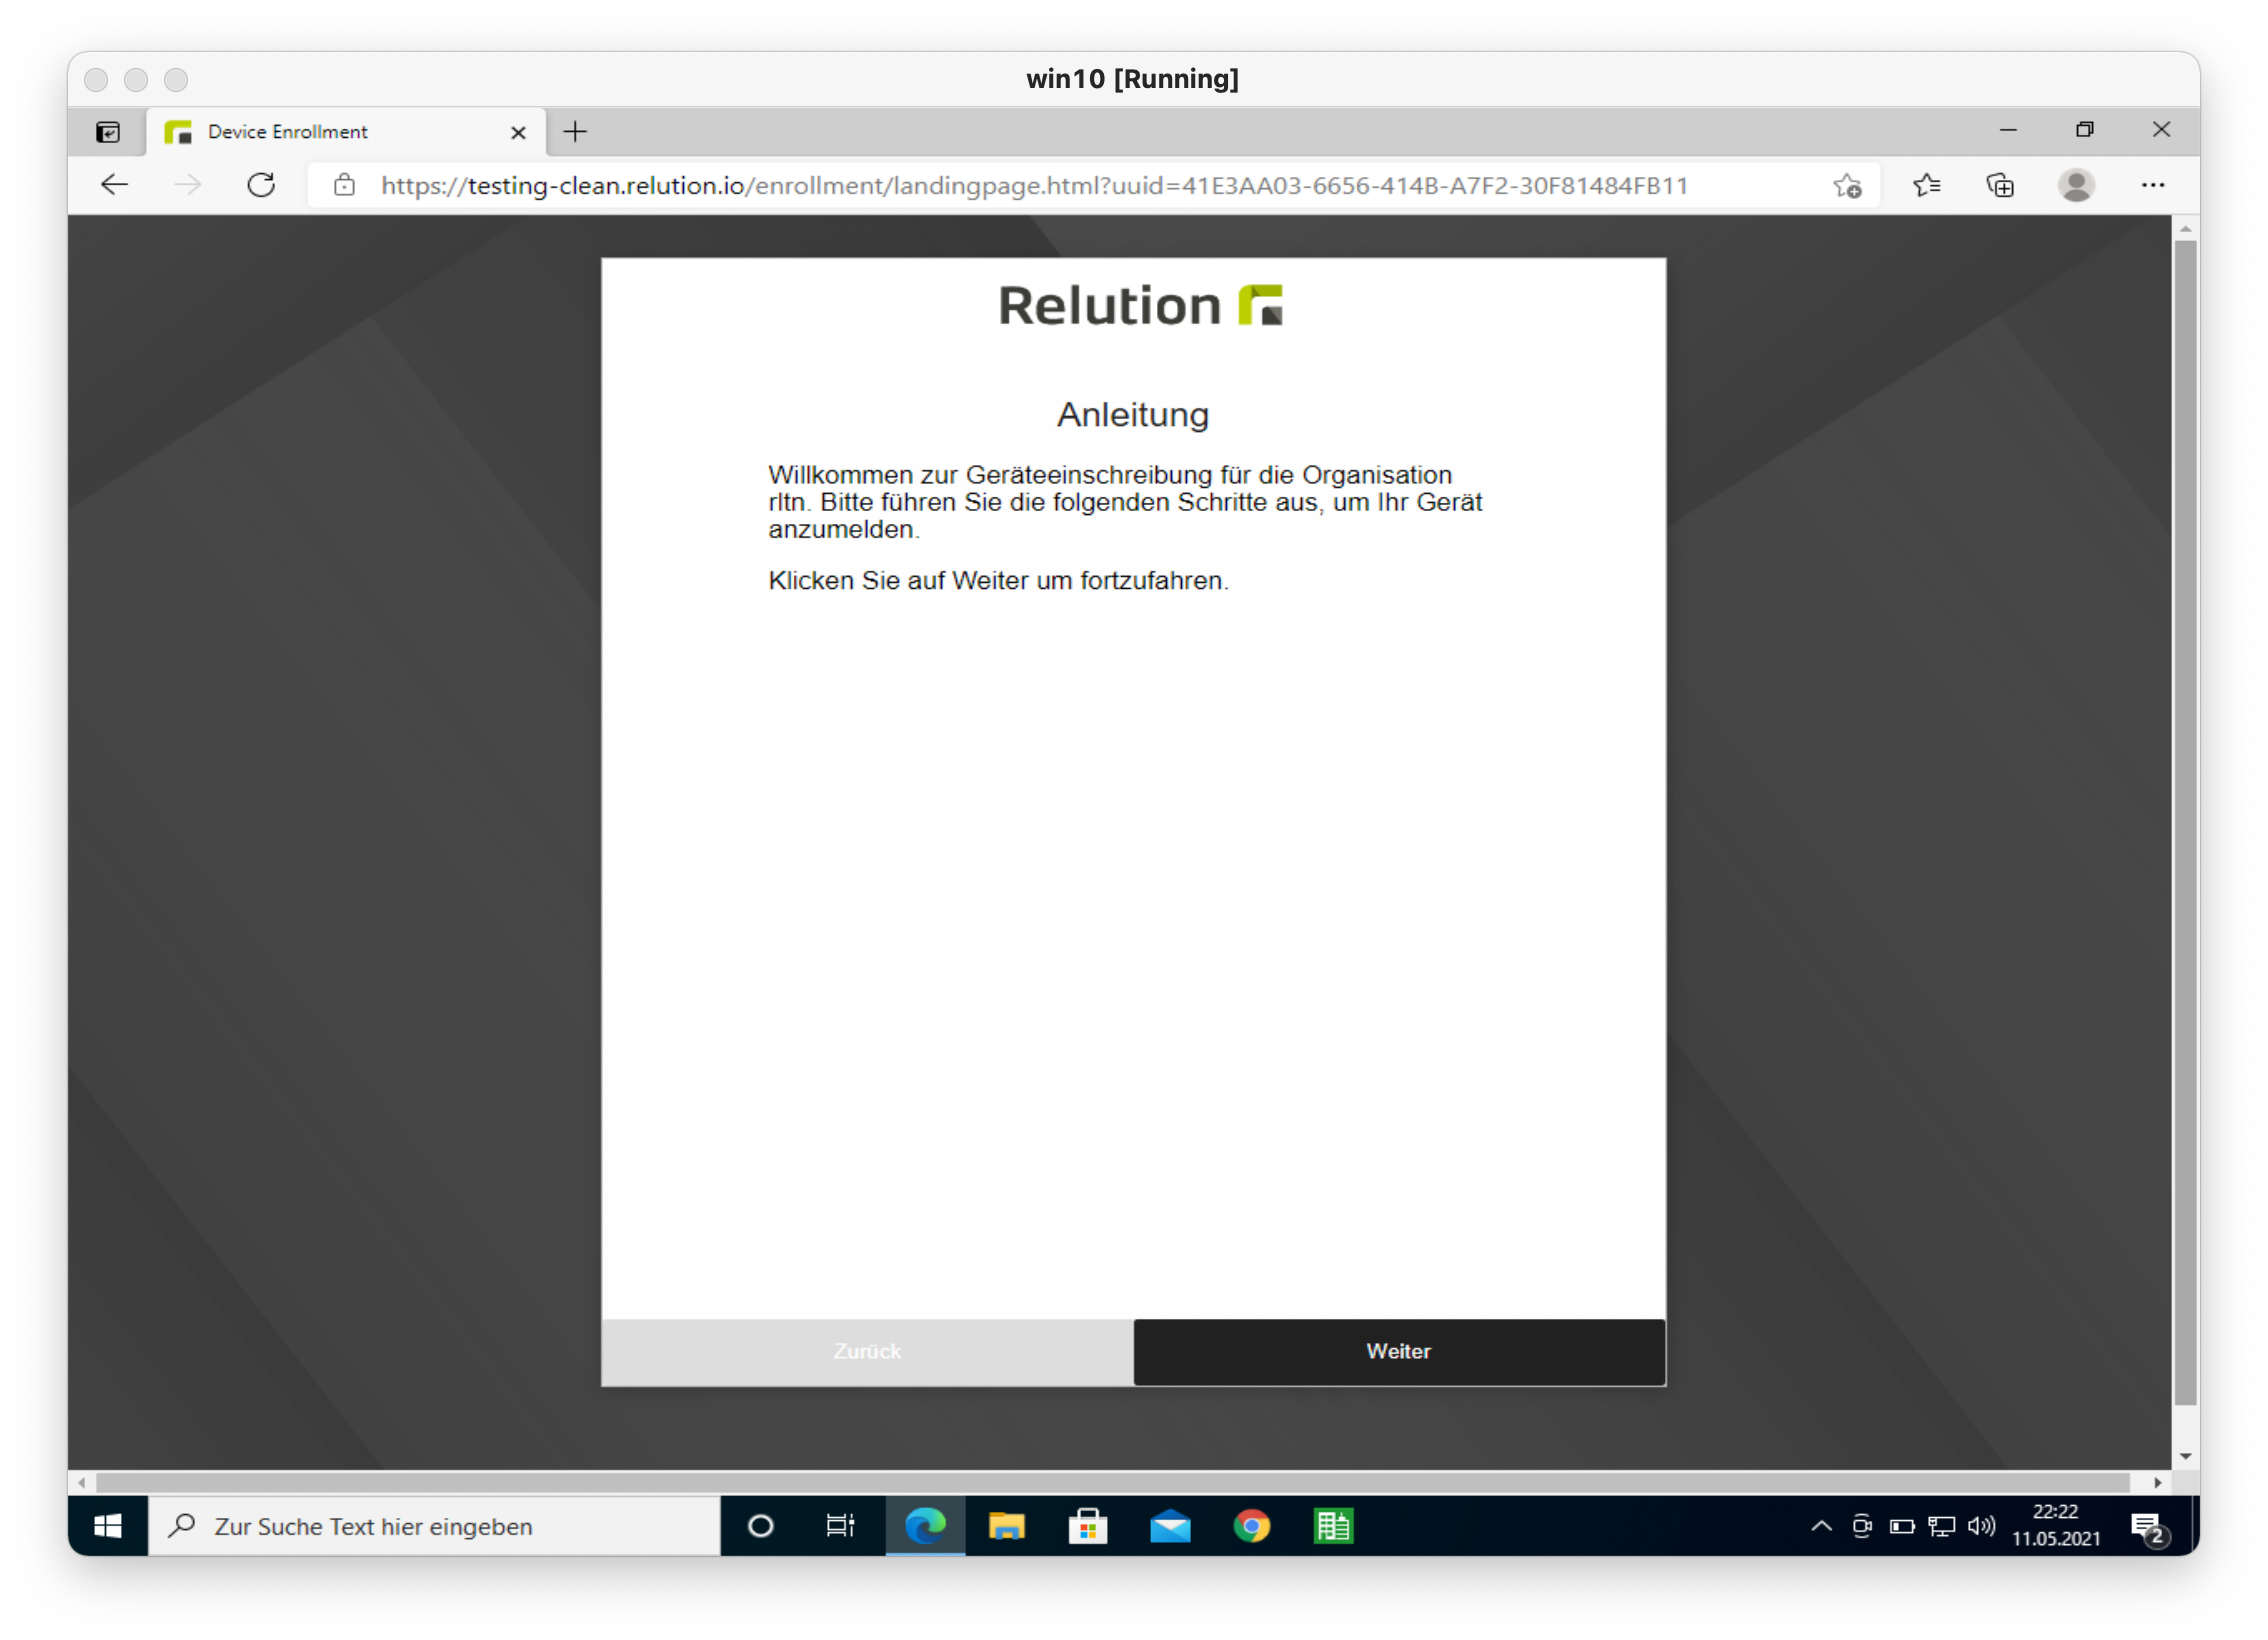
You should see this welcome screen on the device’s browser. Tap on next to continue.
-
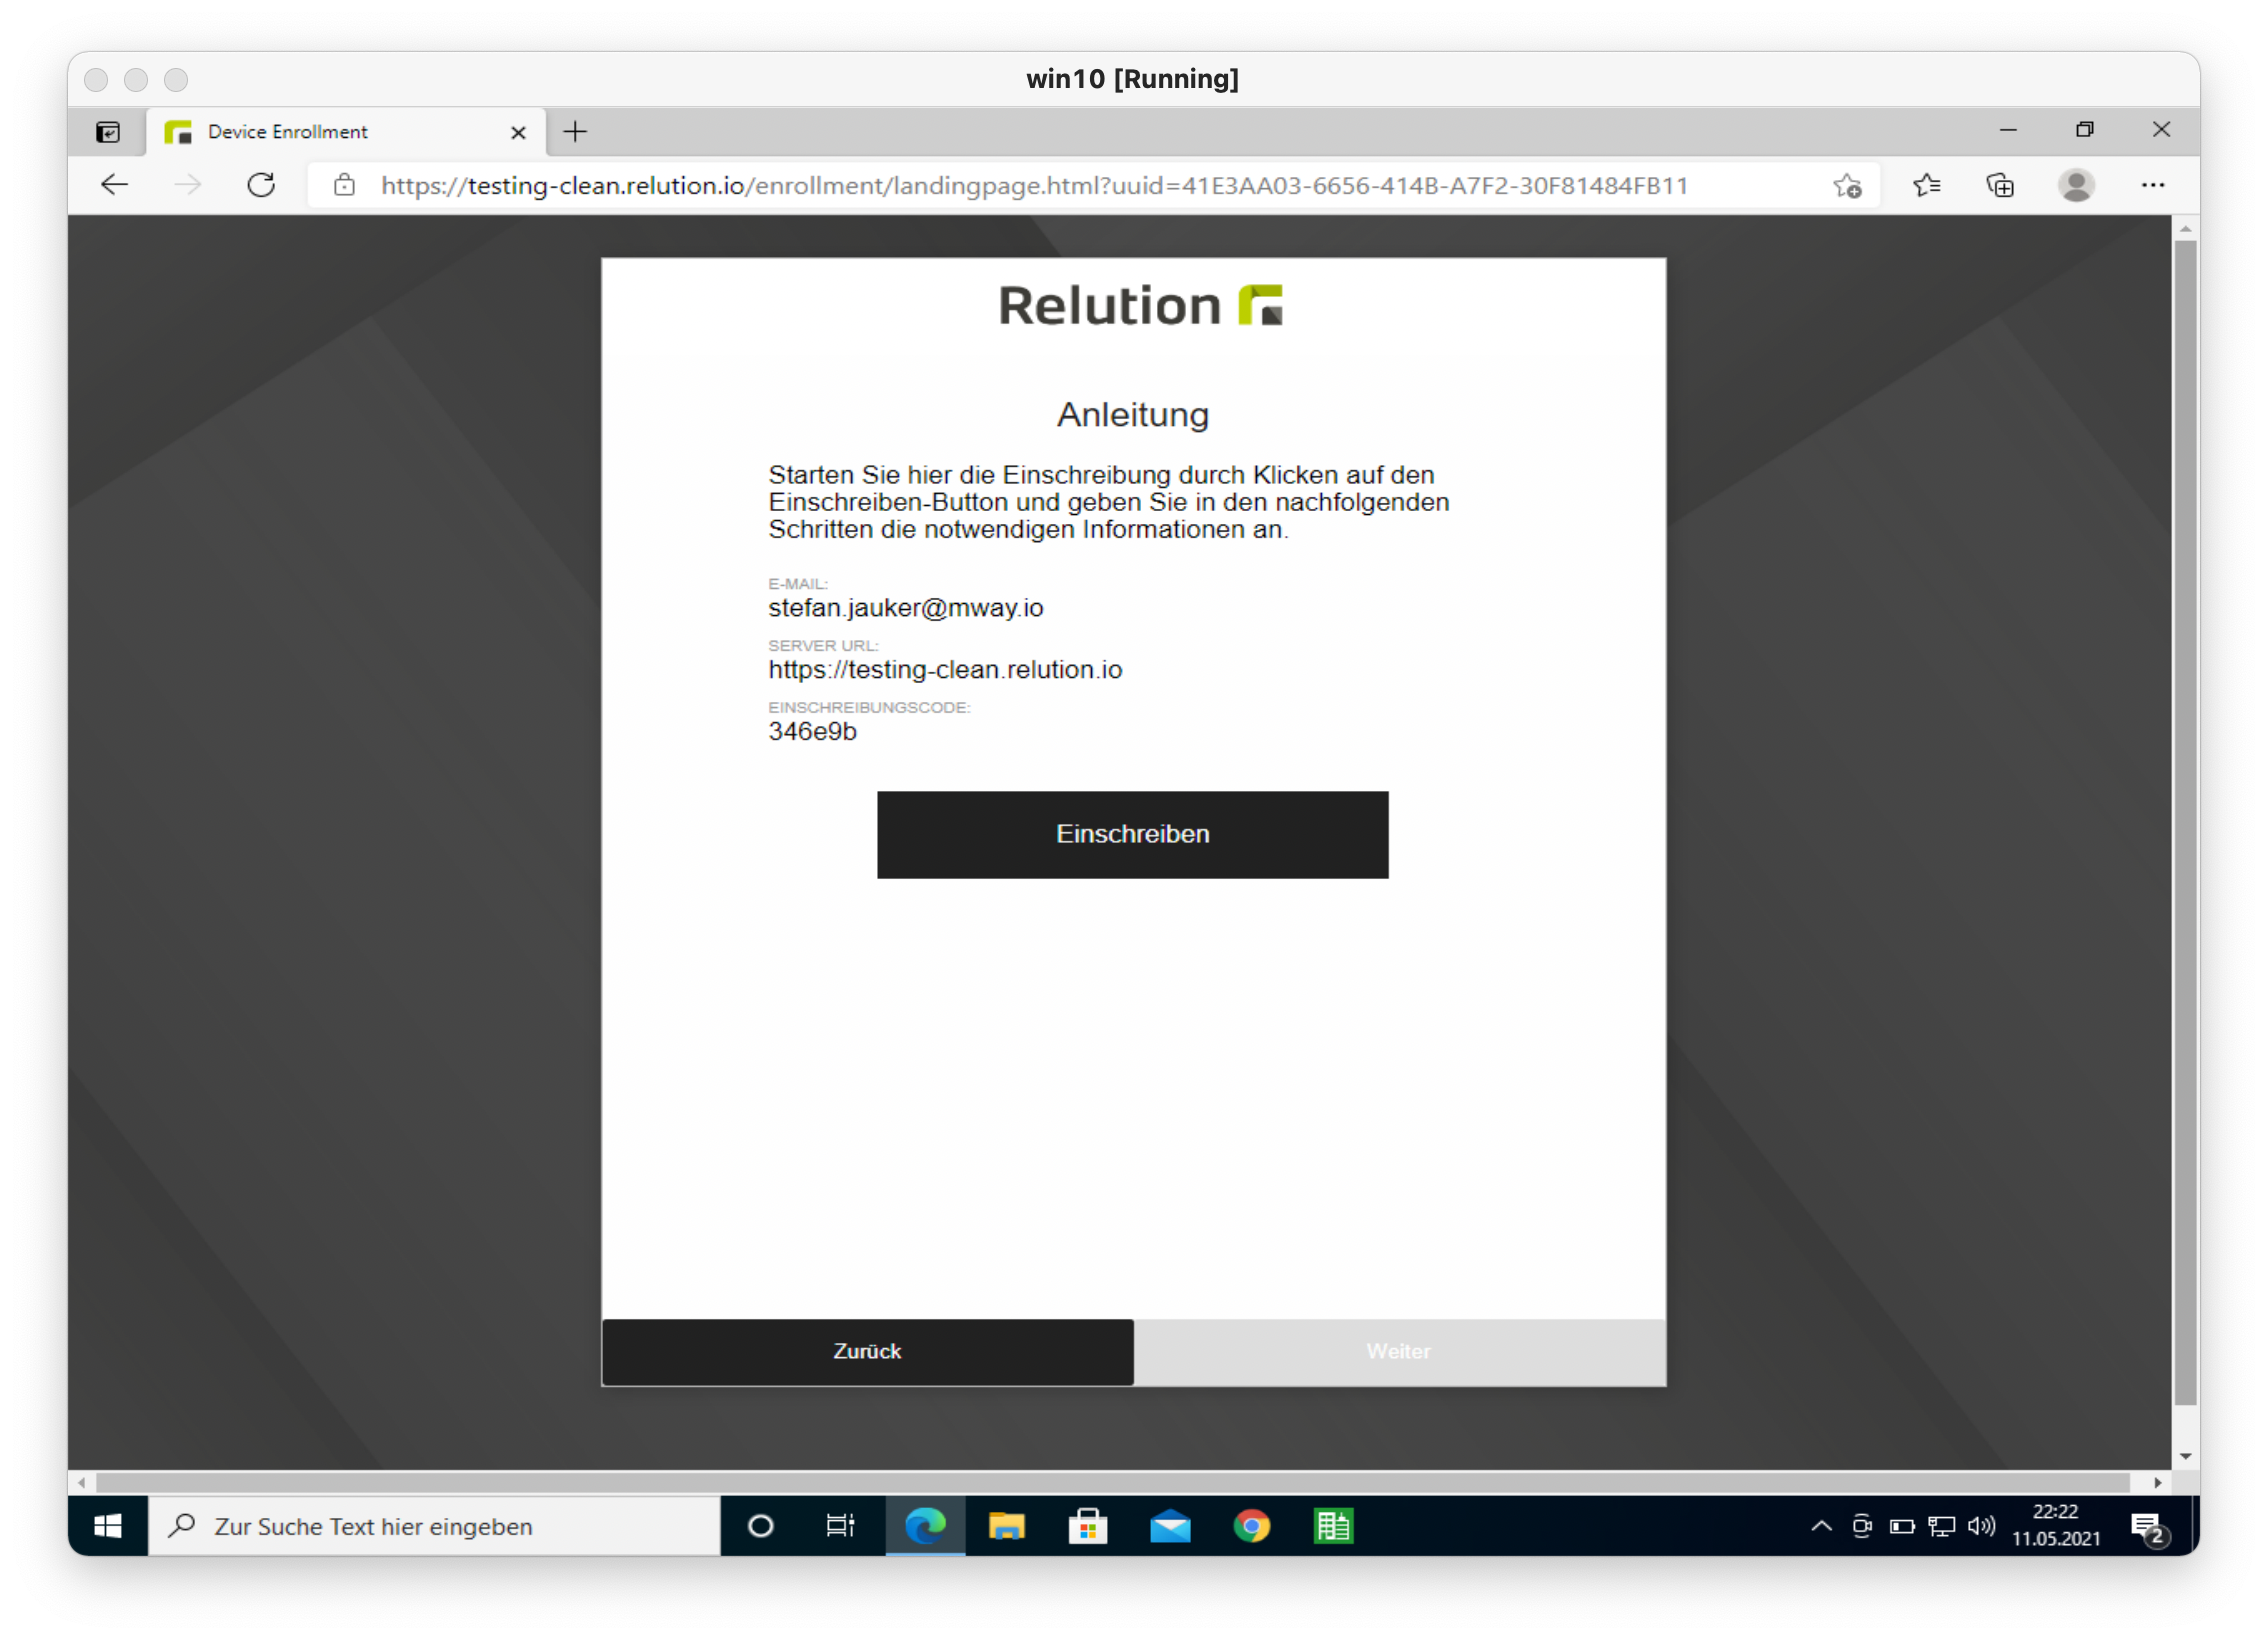
You will get the enrollment information which are needed for device enrollment. You need those during the enrollment.
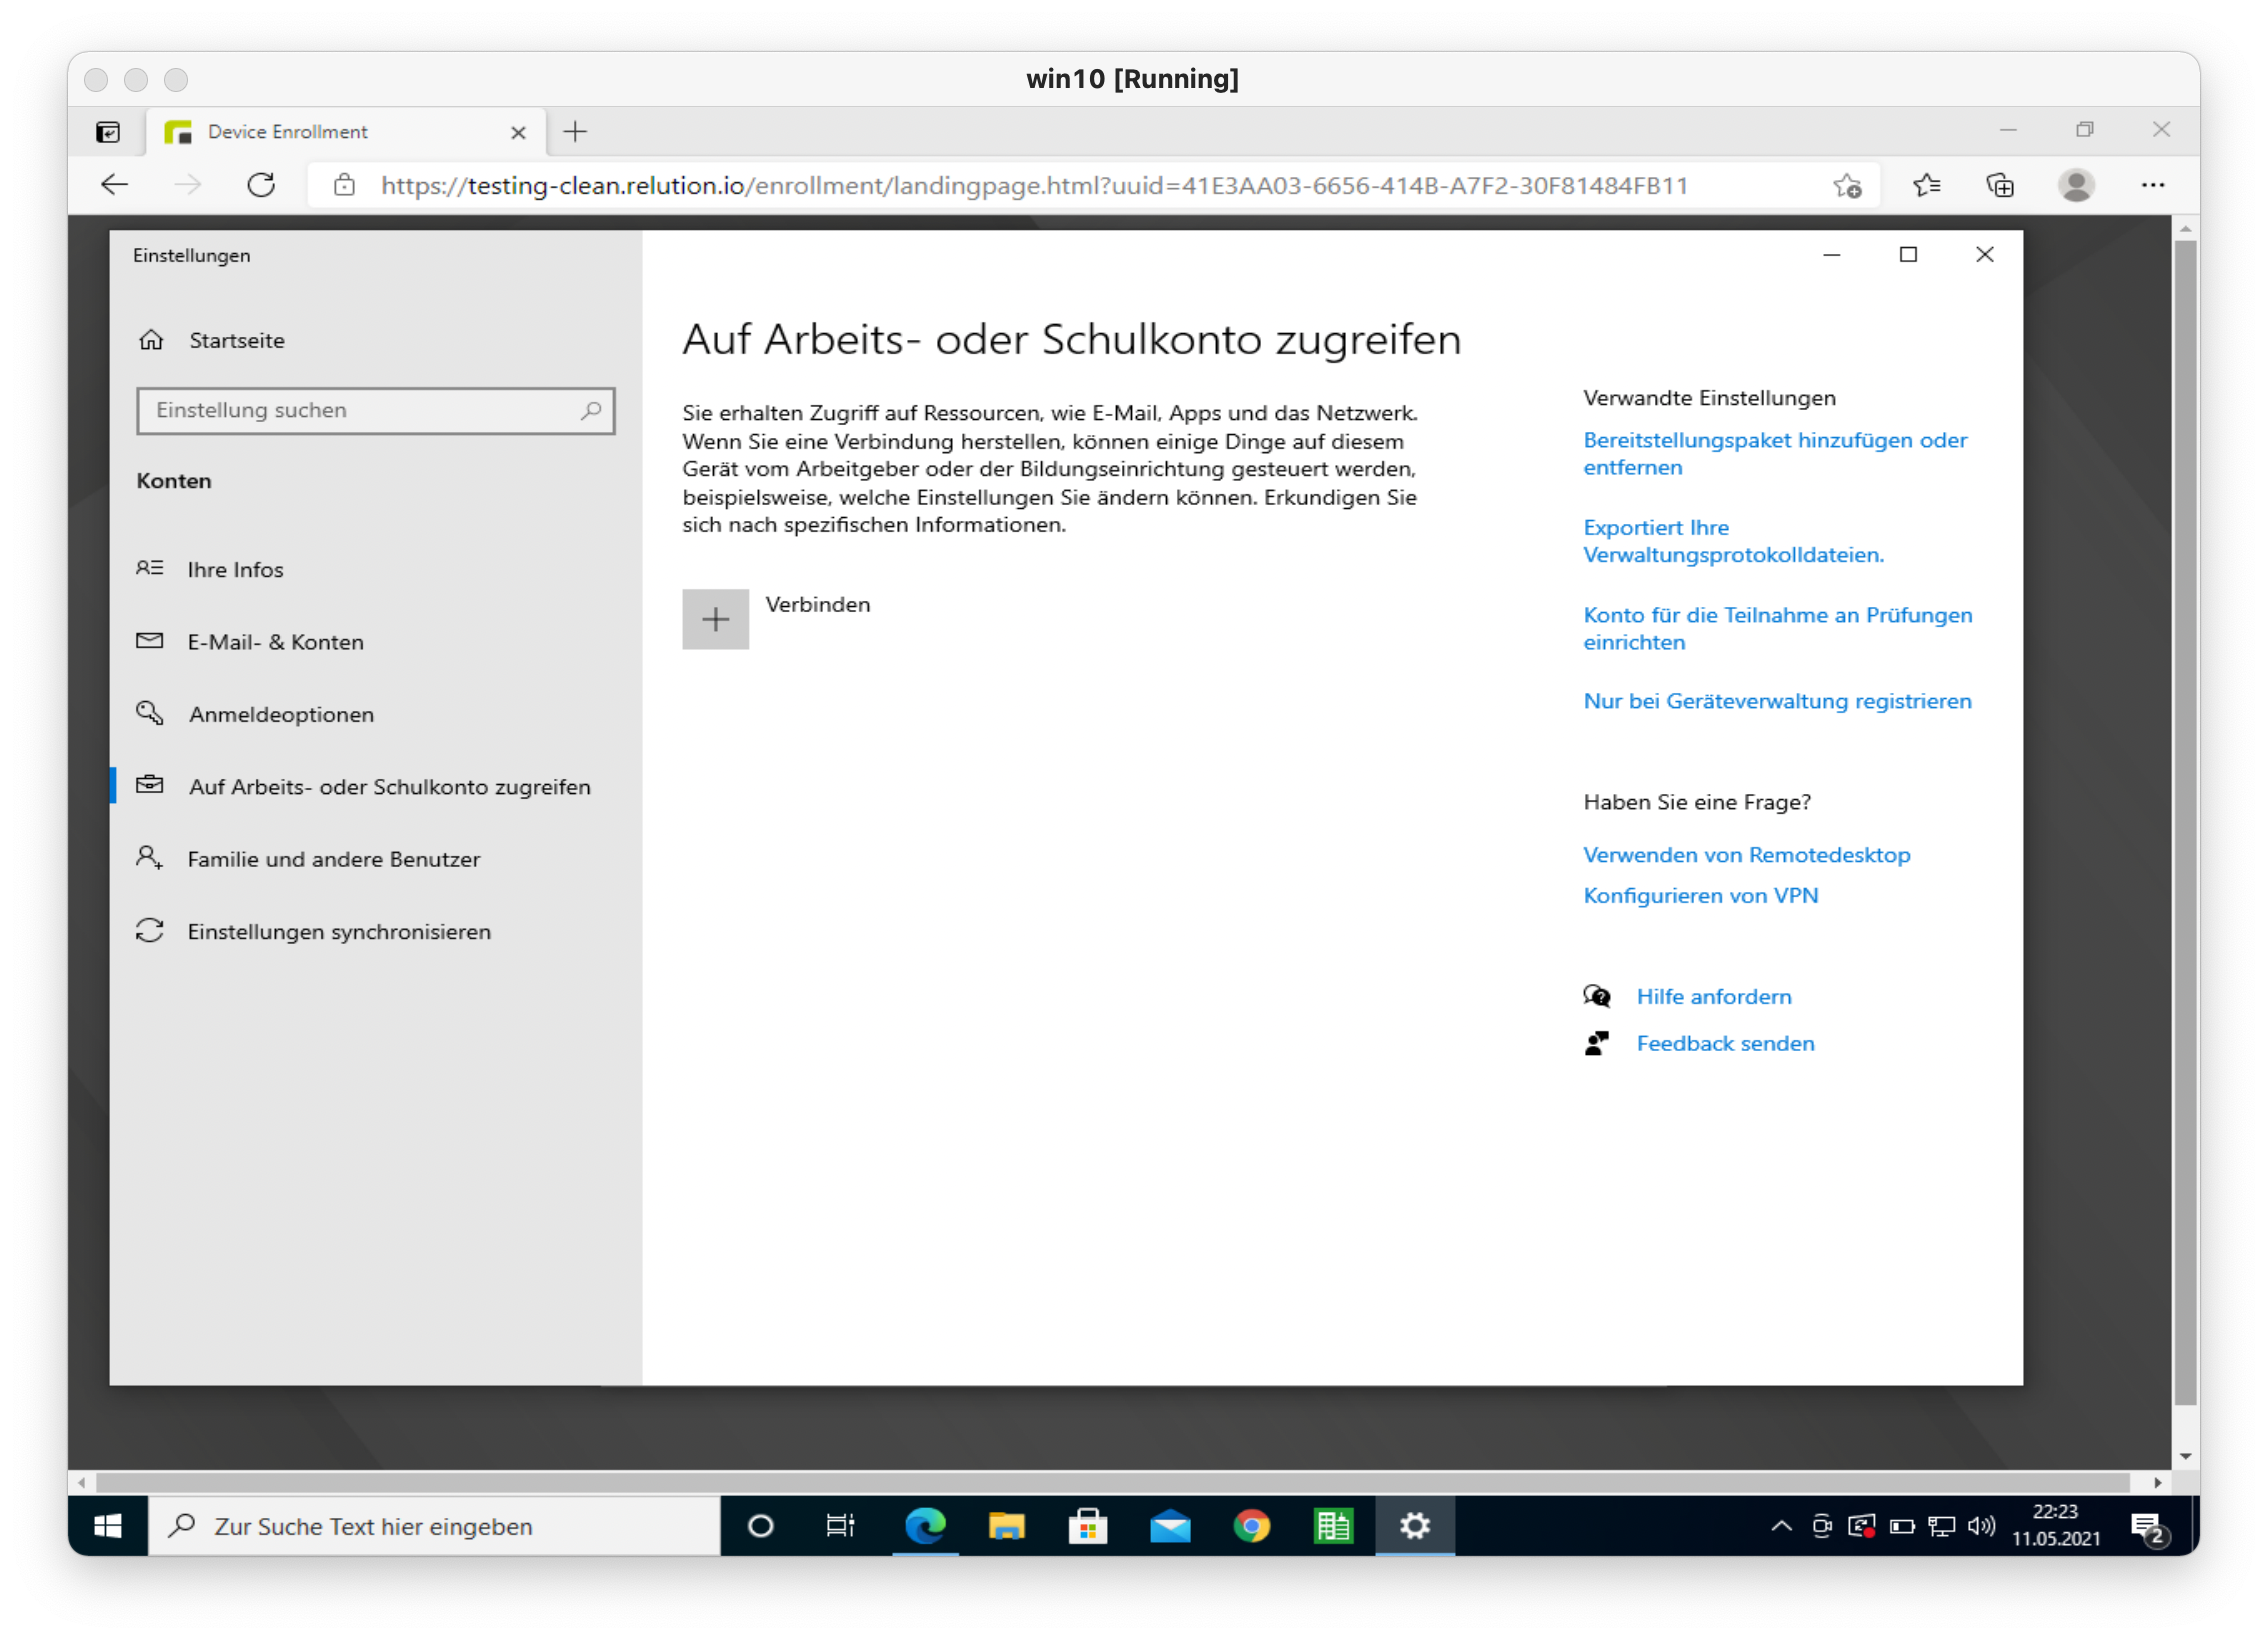
-
Tap on Enroll only in device management to start the enrollment process.
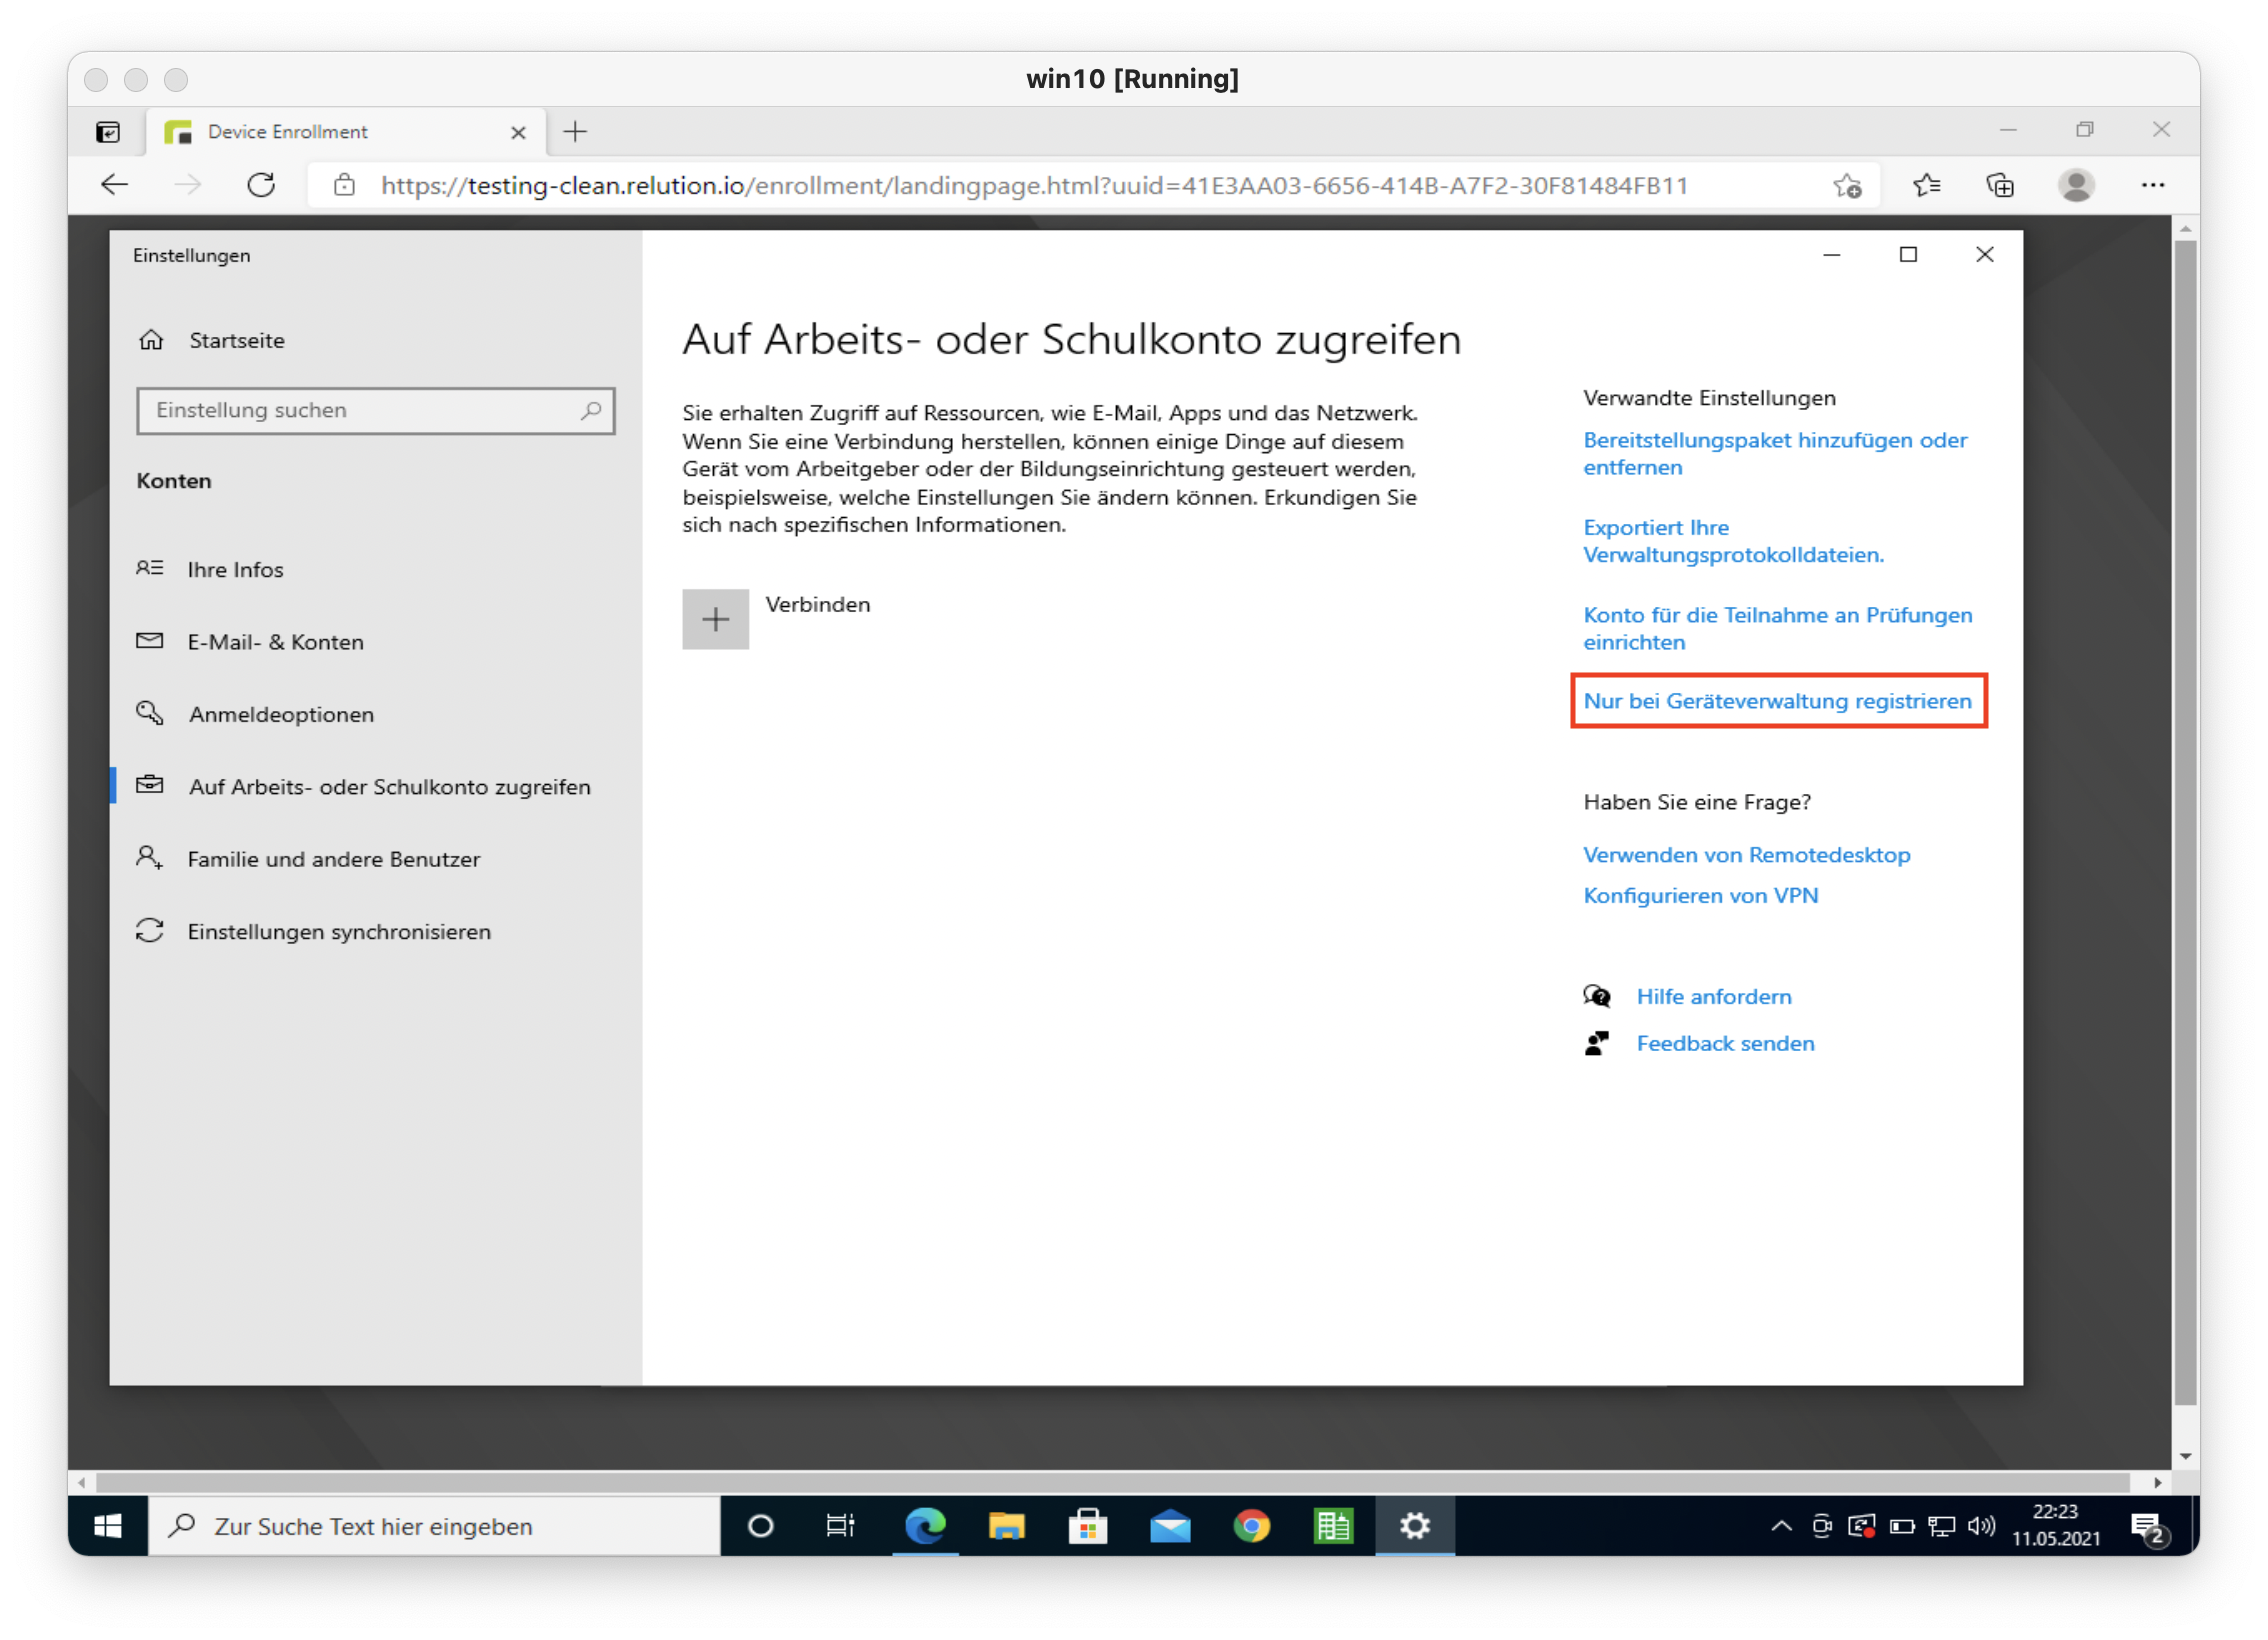
-
Tap on Enroll only in device management to start the enrollment process.
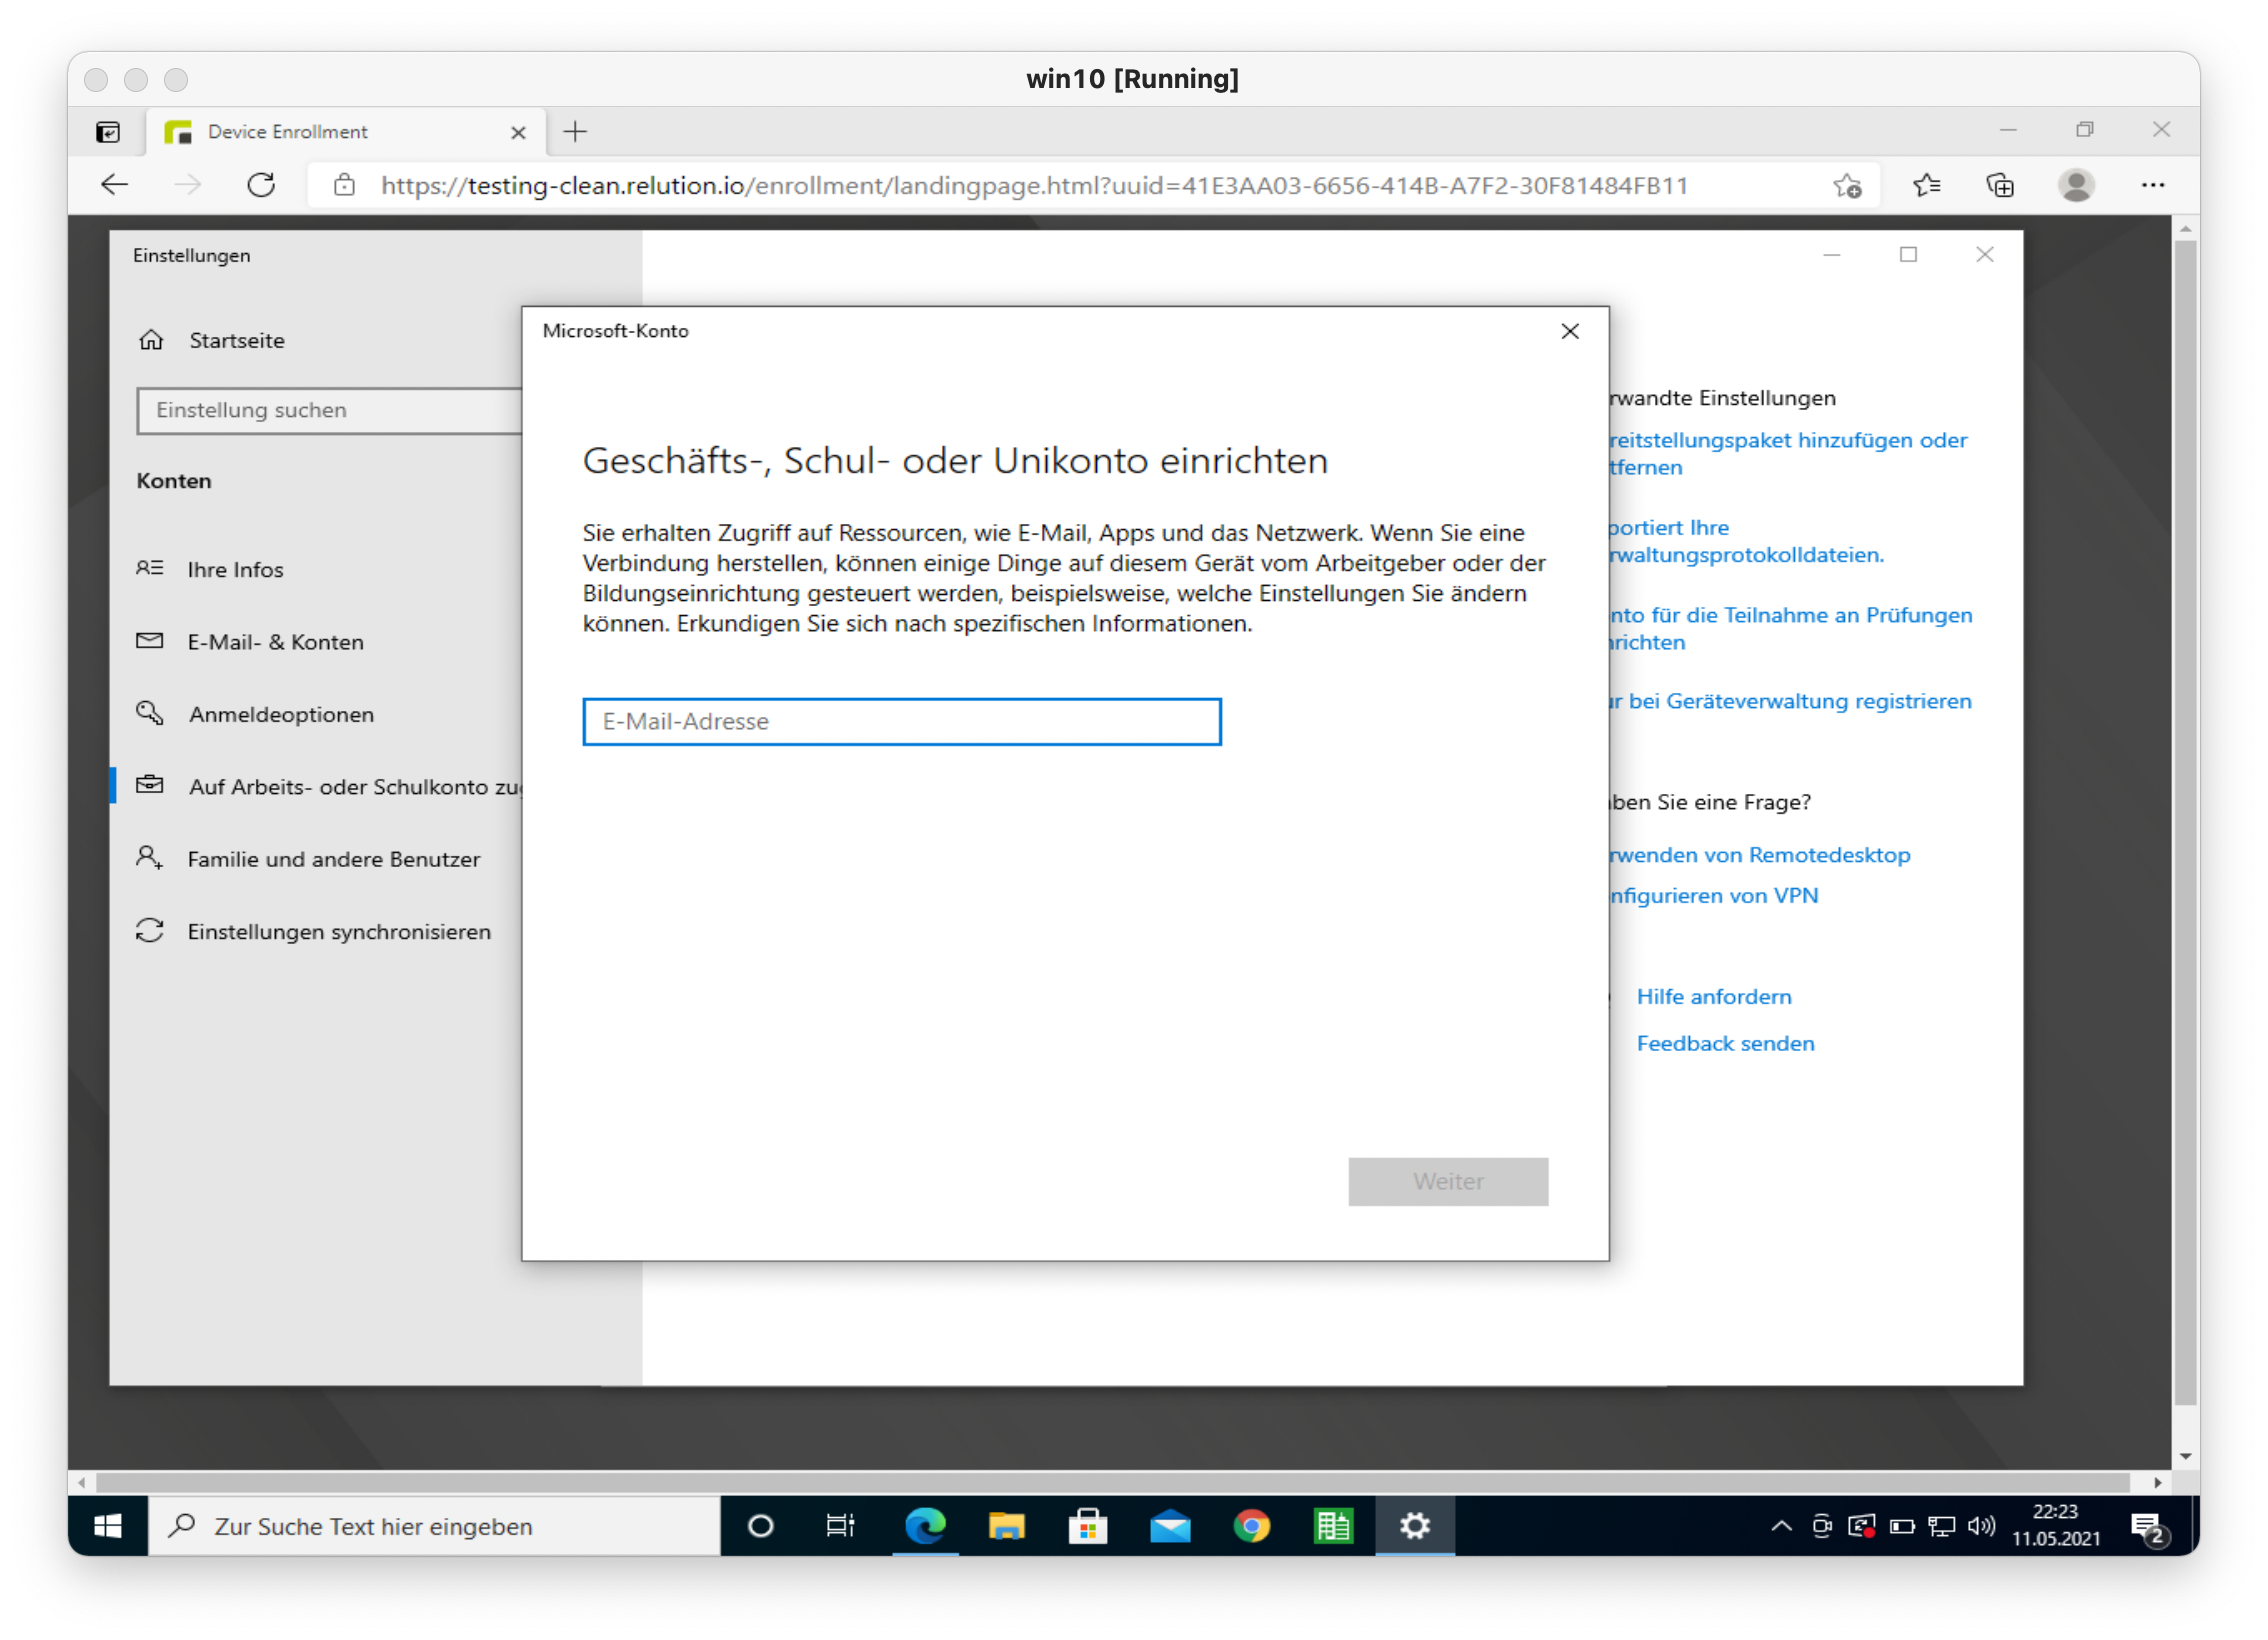
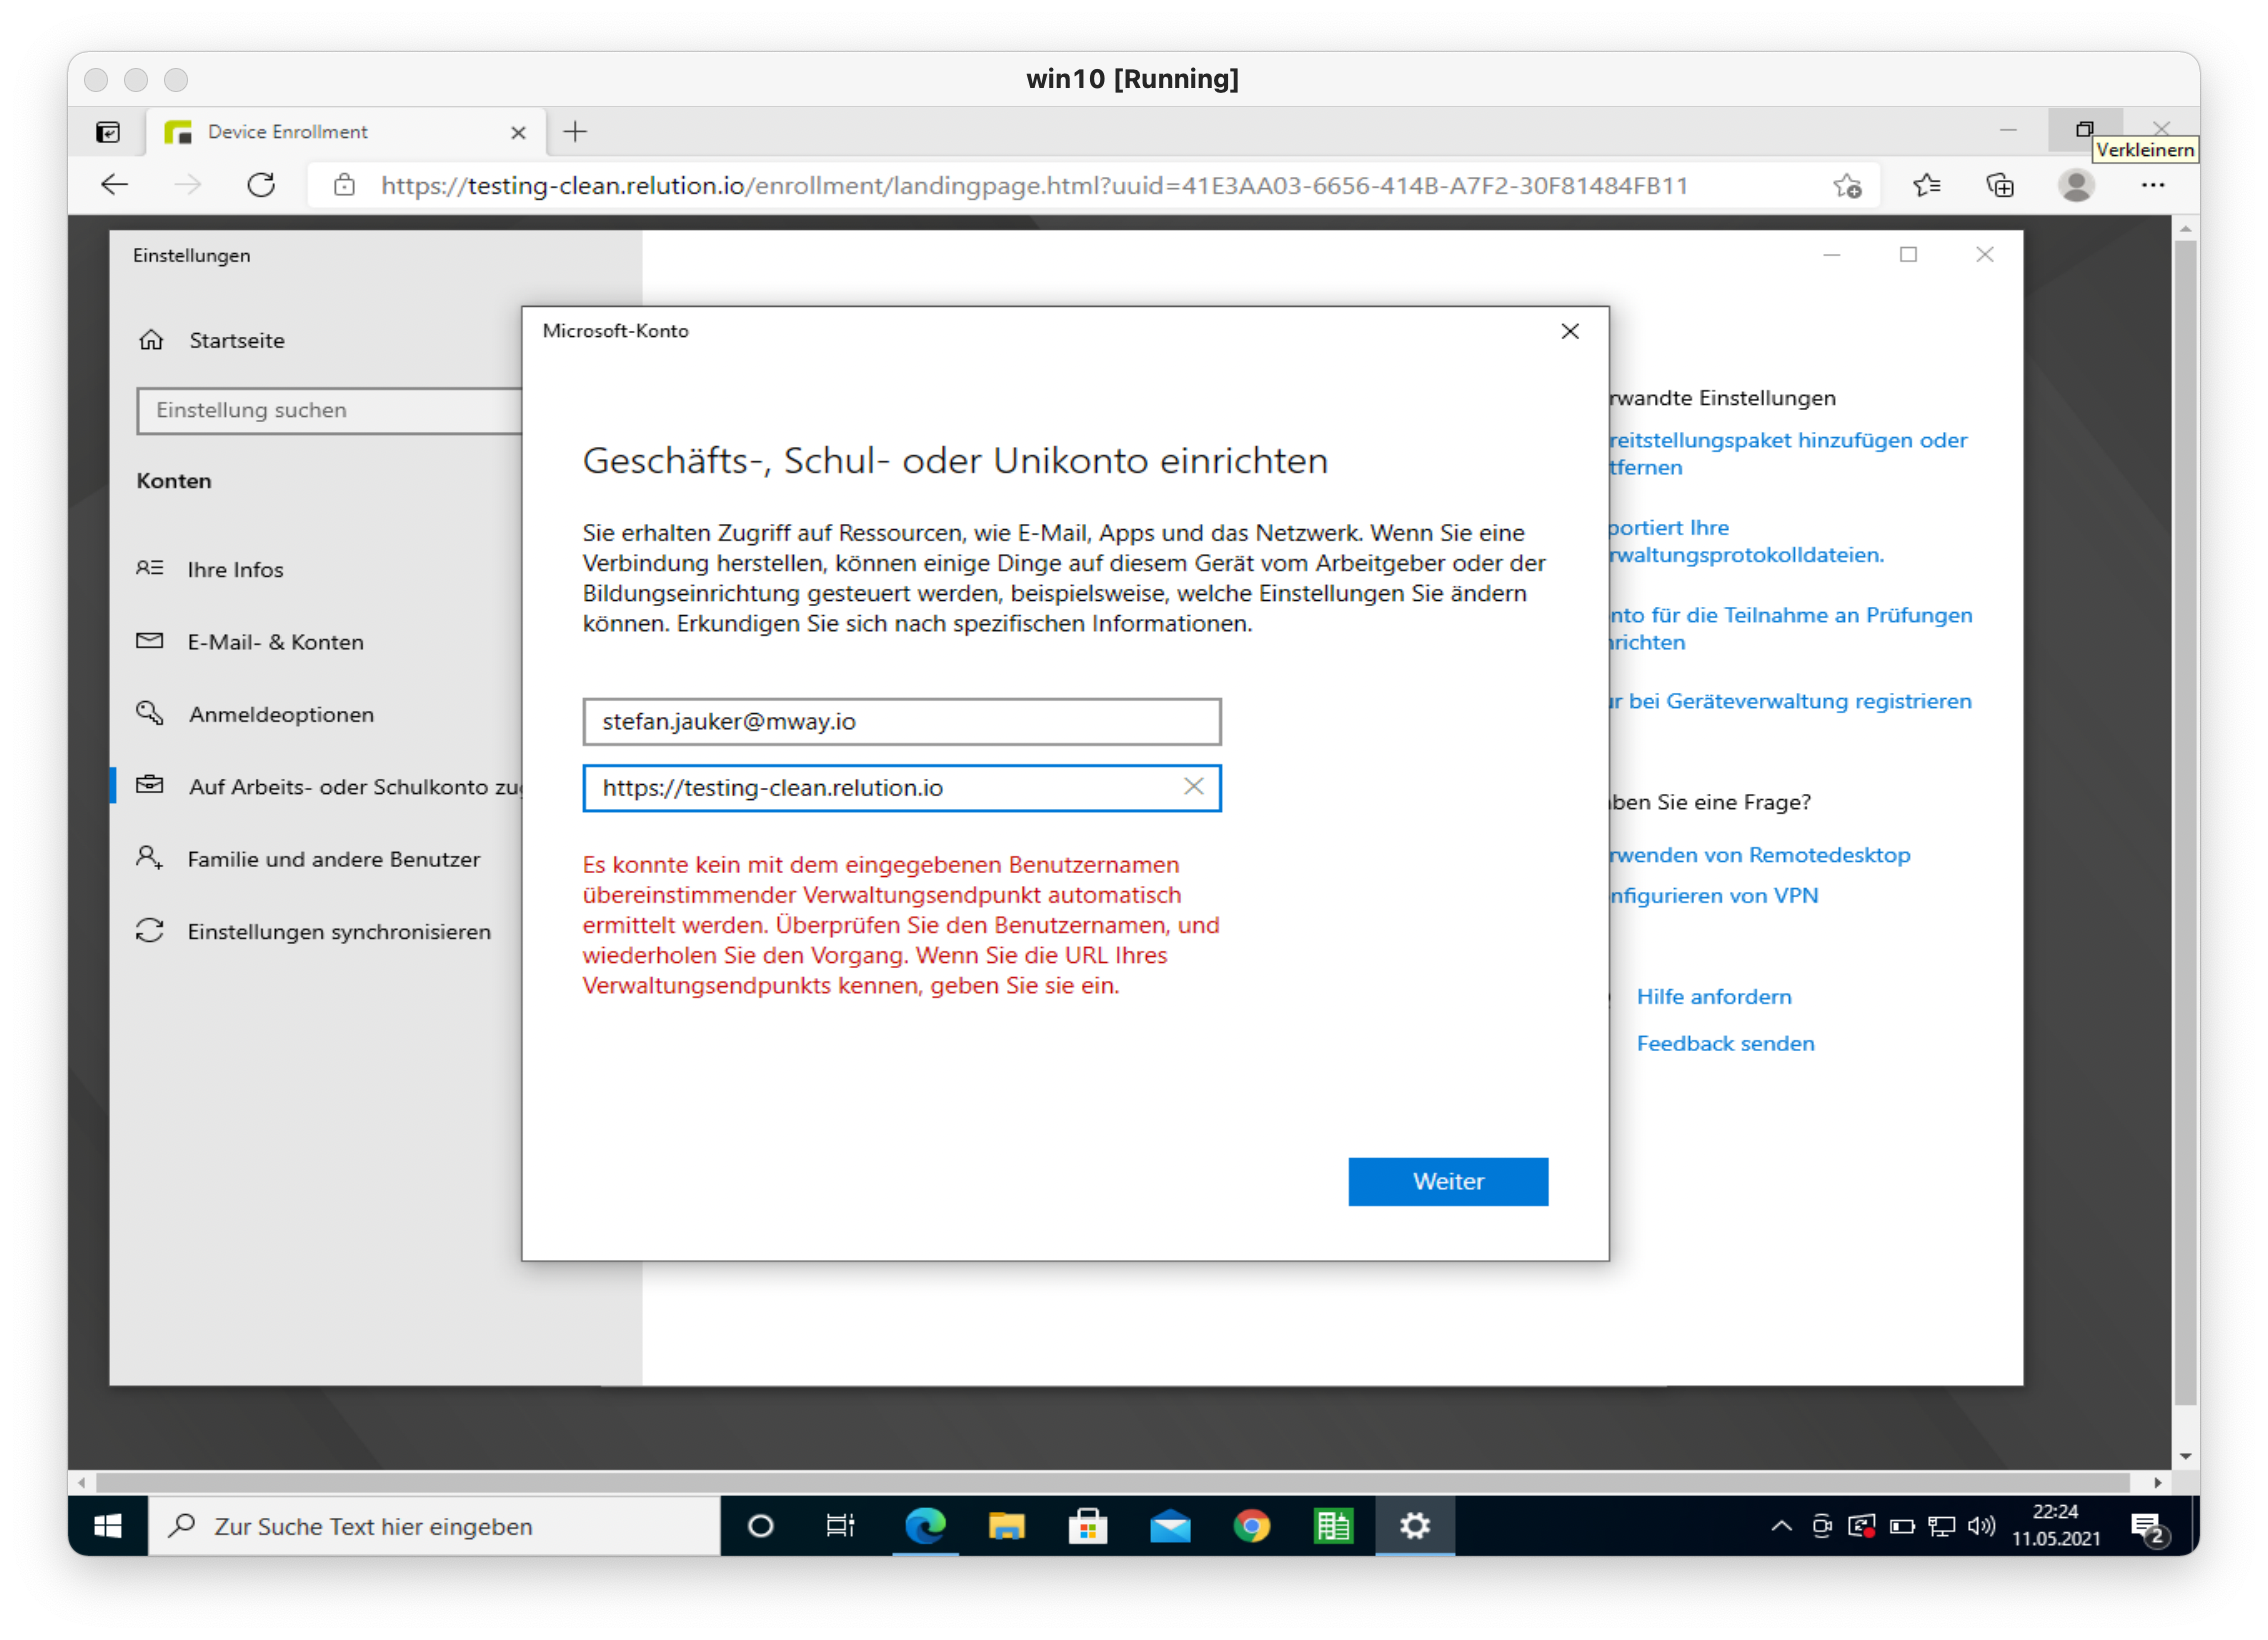
-
If the server url could not be determined automatically via the DNS entry, the user is prompted to enter the server url.
-
The Relution enrollment code page is displayed. The user must enter the enrollment code so that relution can verify the enrollment.
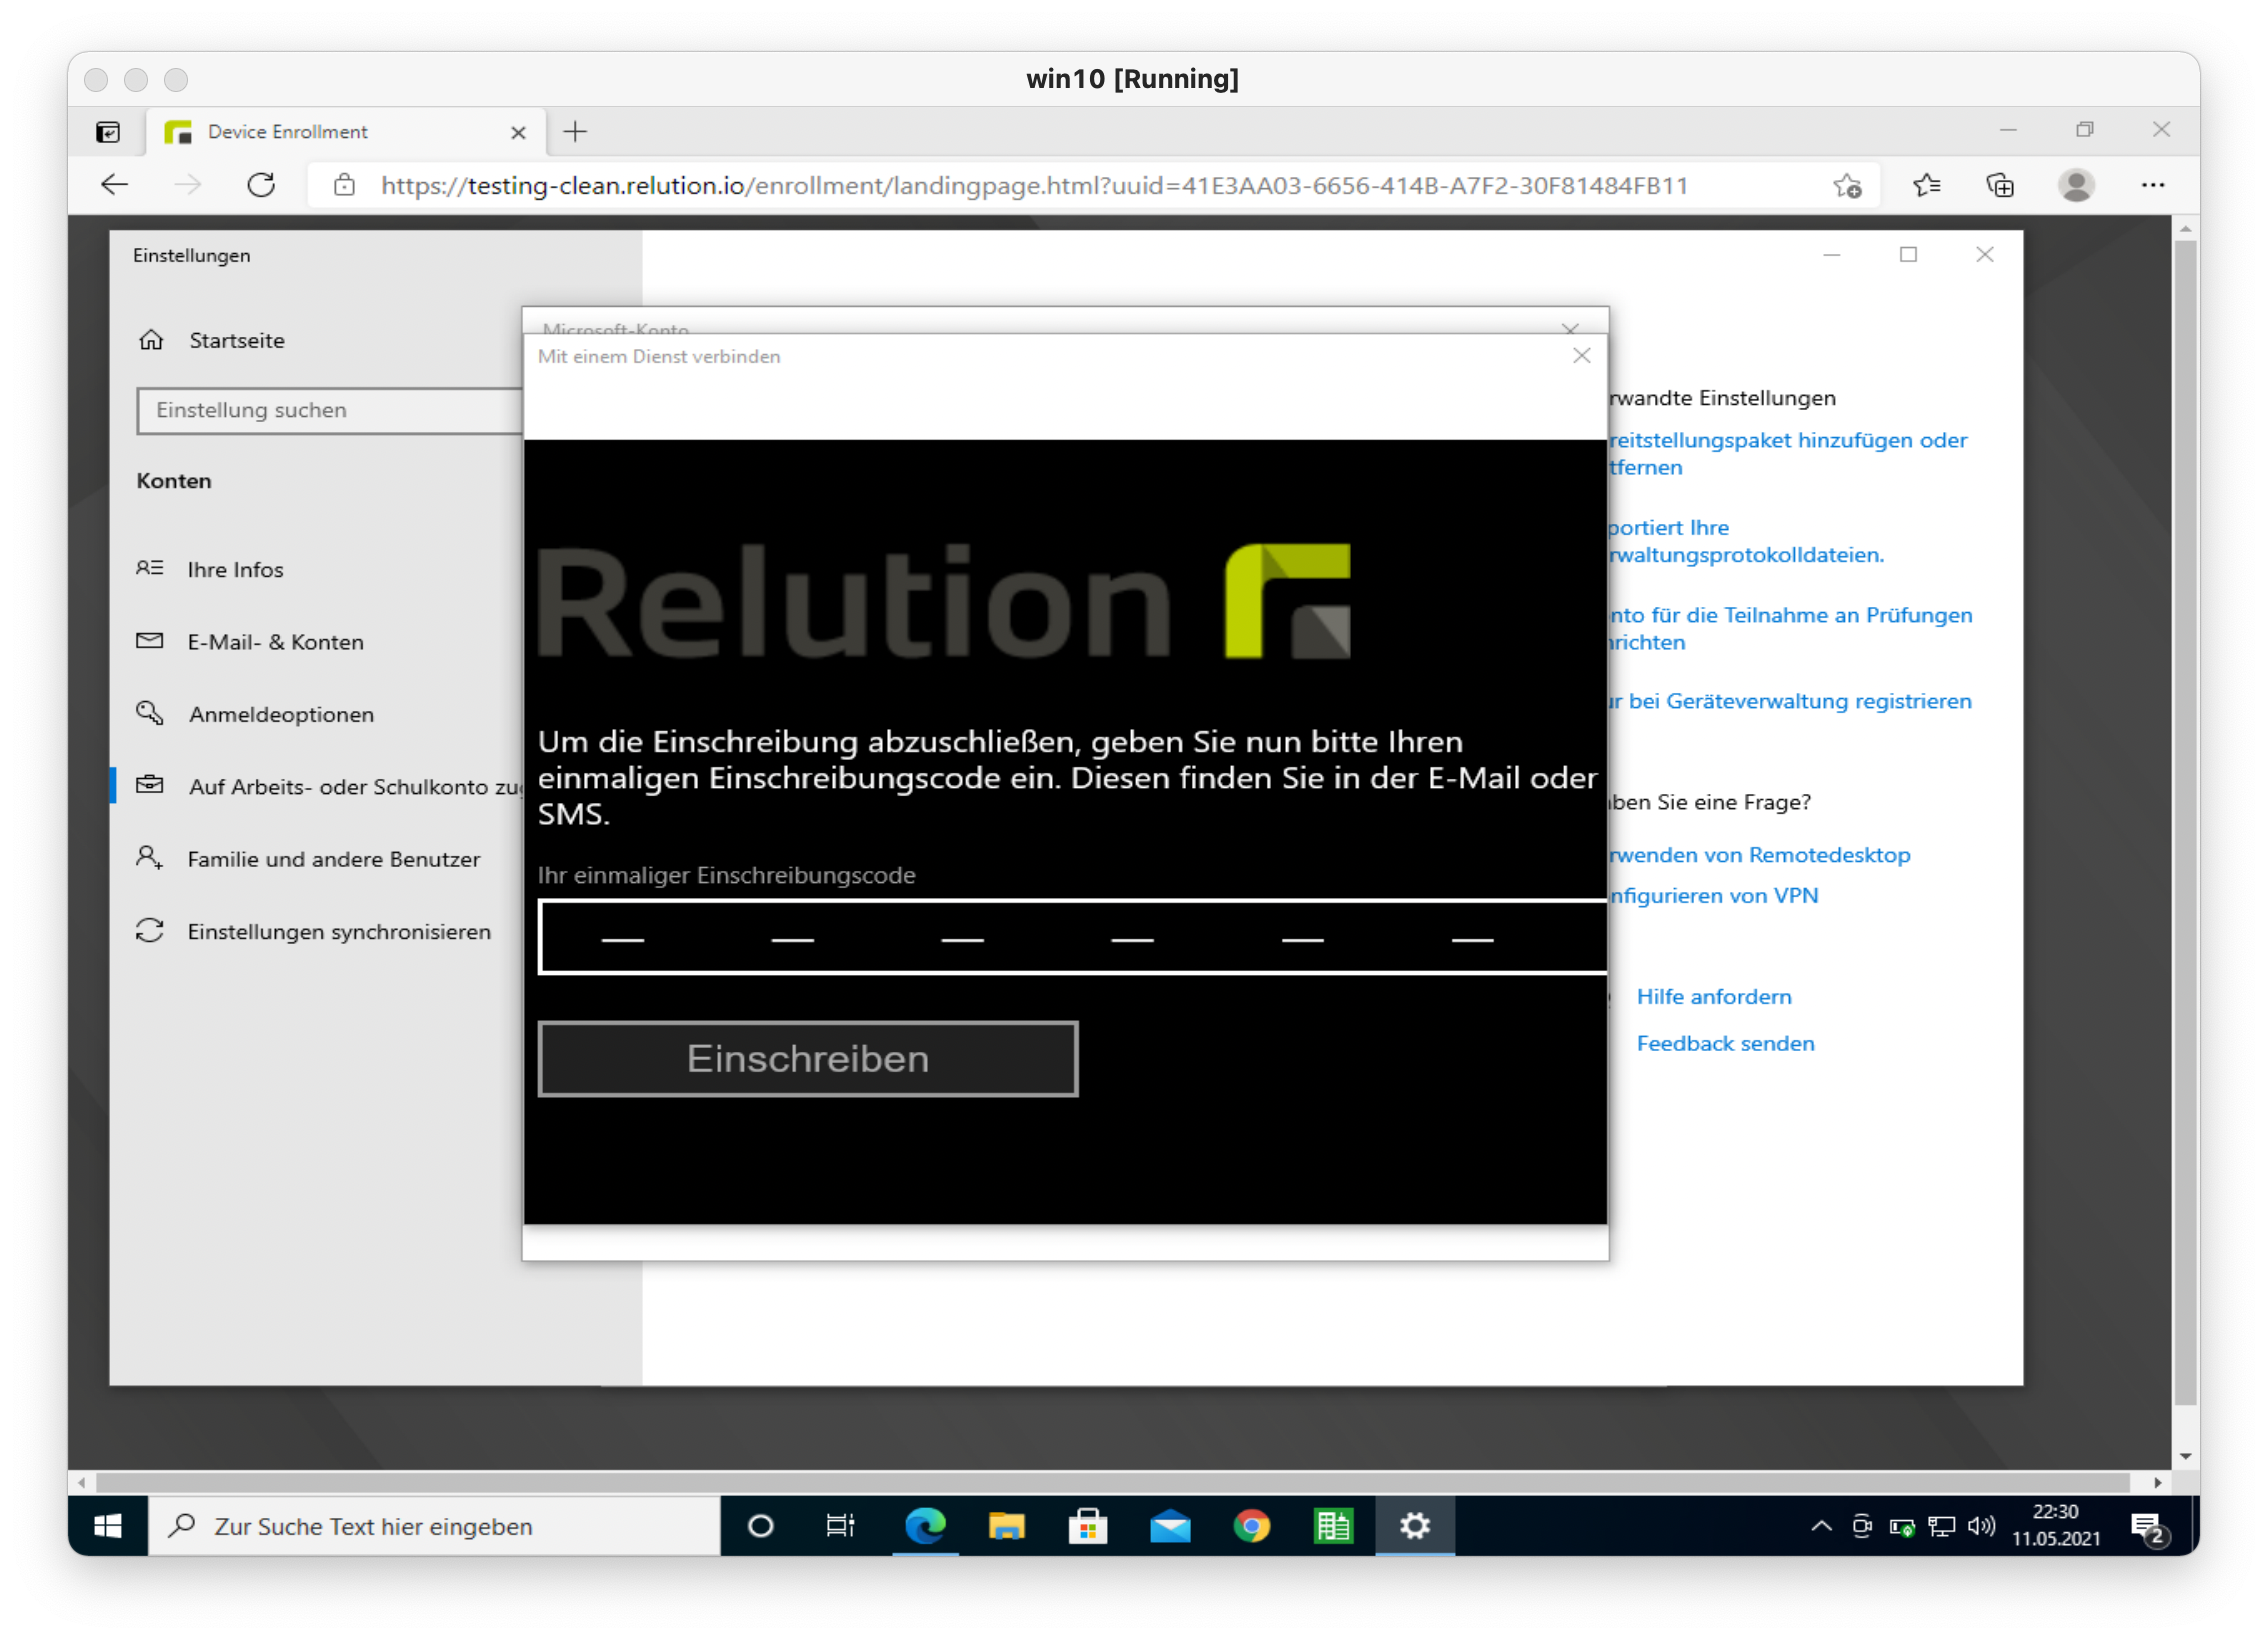
Tap on ENROLL in order to confirm the enrollment code.
-
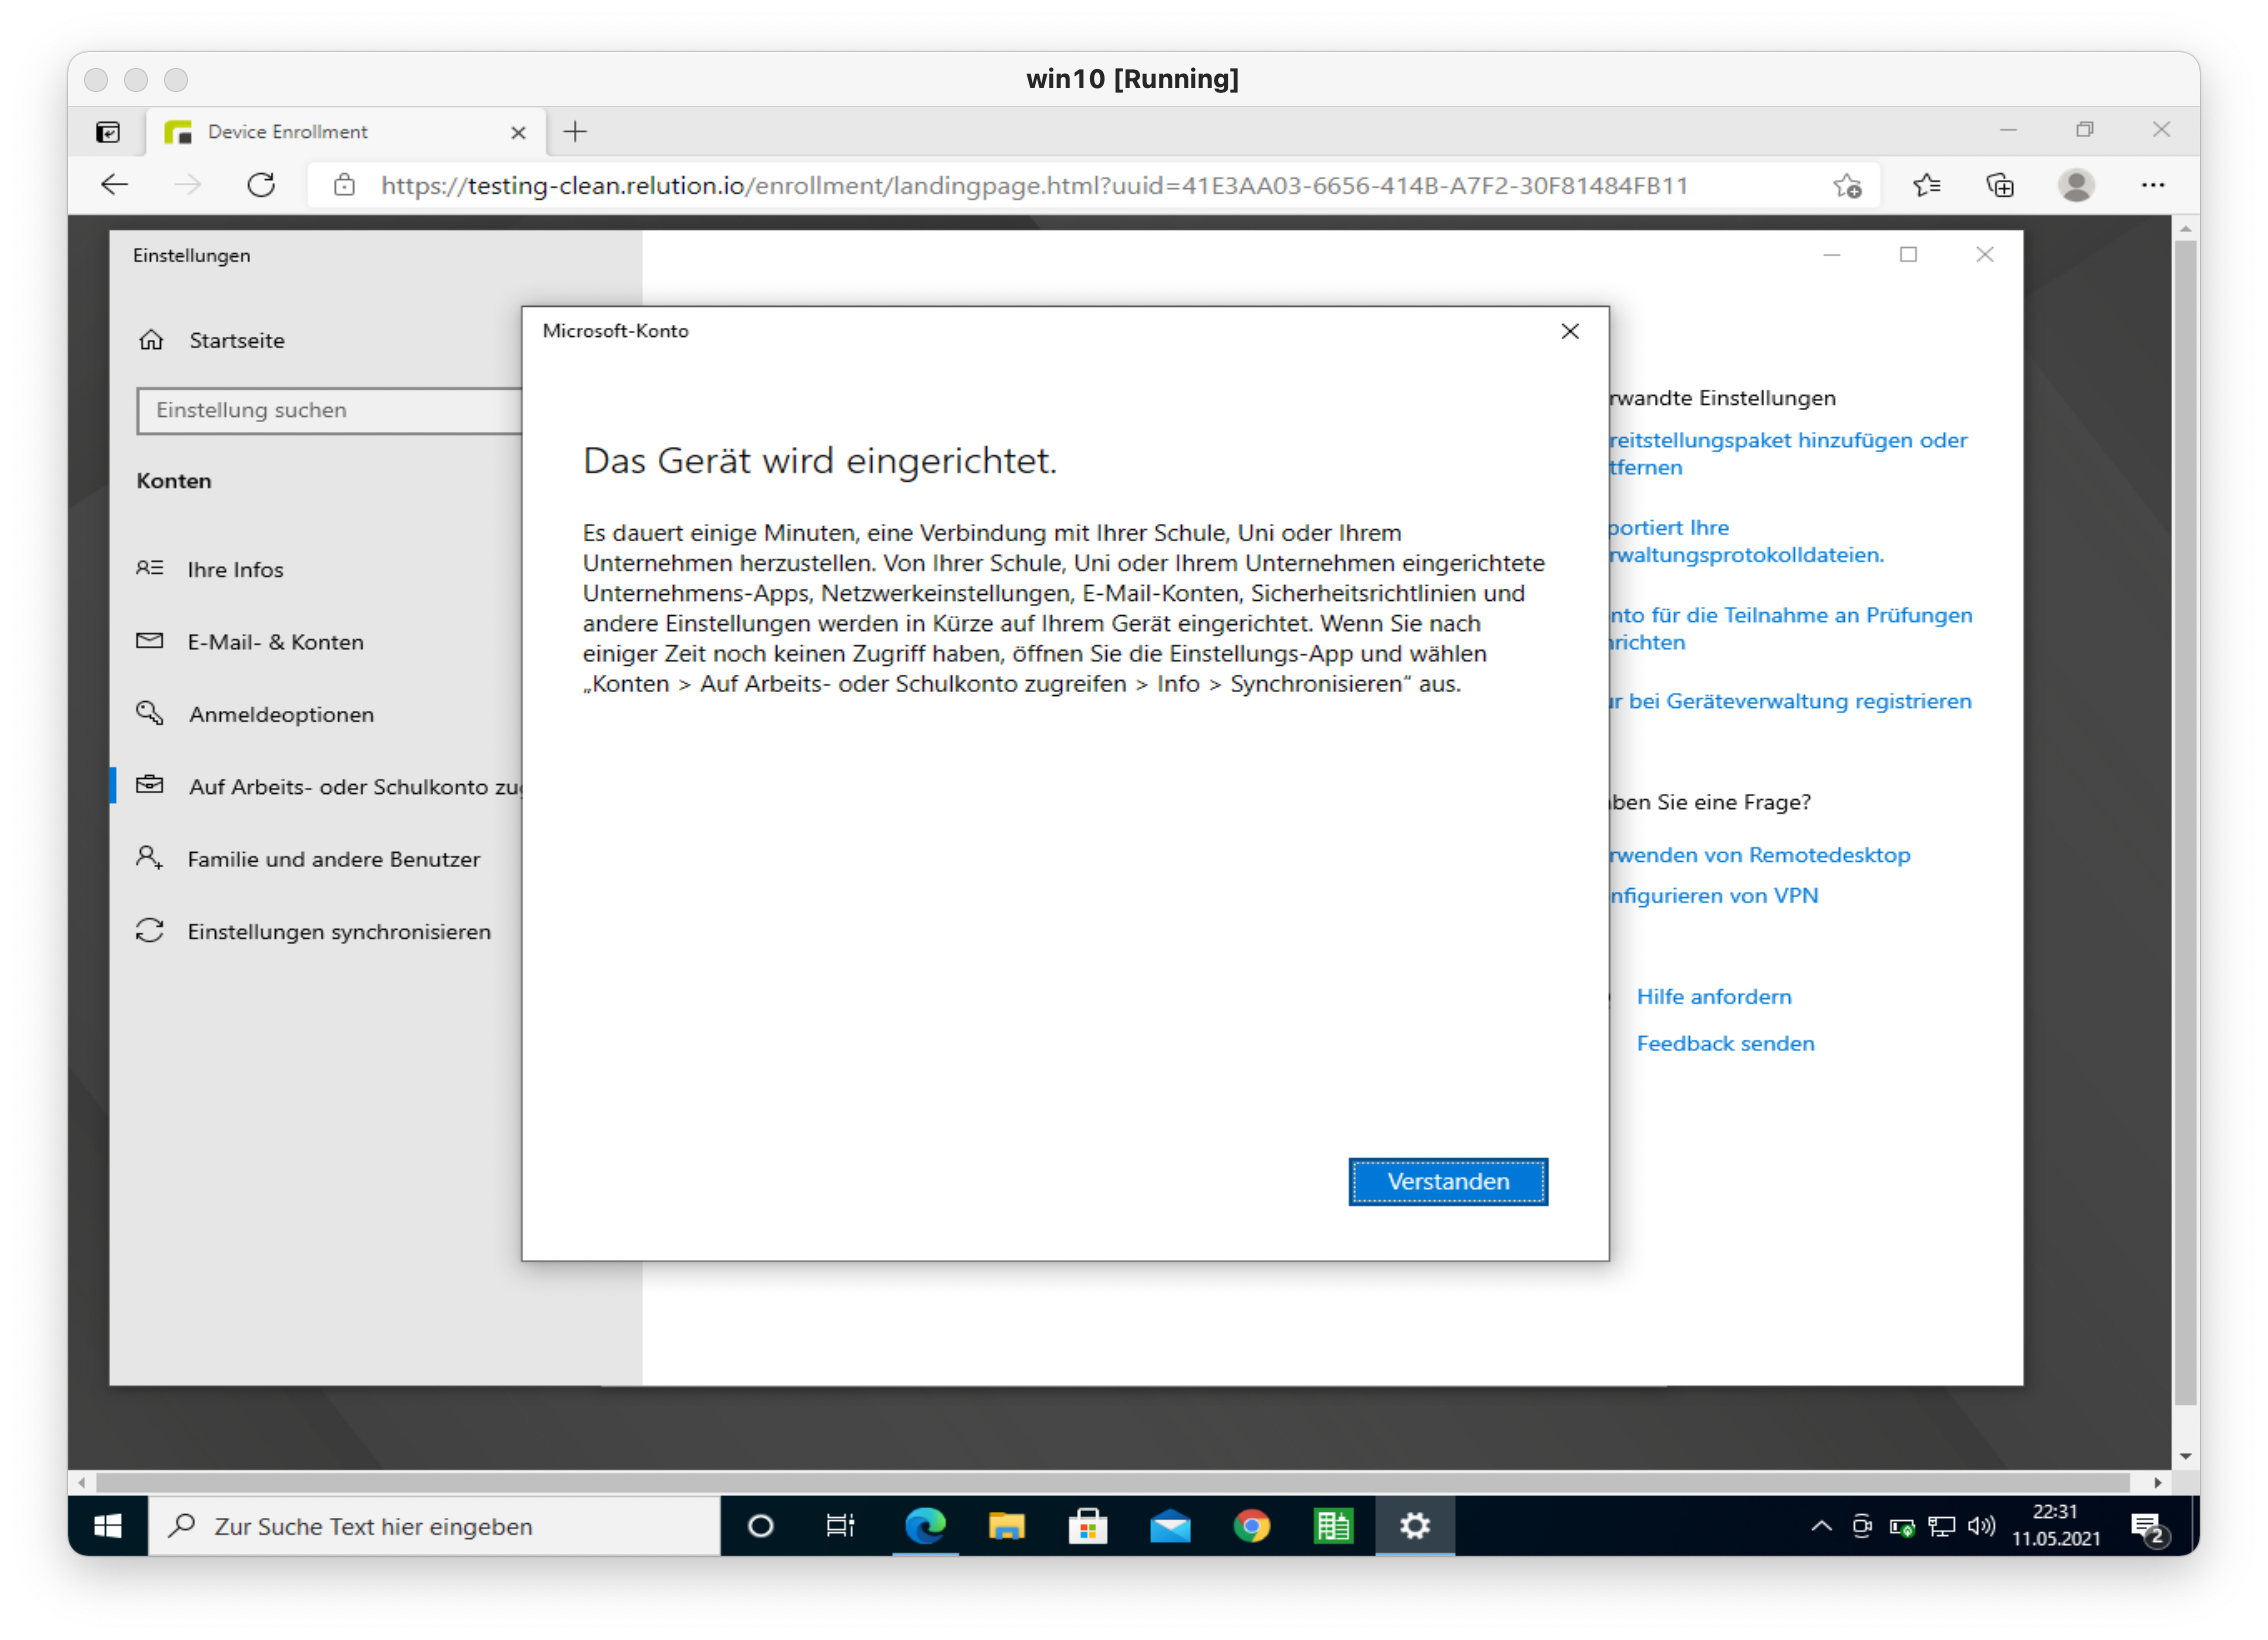
In the last step the user must confirm the dialog to complete the enrollment.
